
With spare parts hard to find, Vyv Cox keeps his 15-year-old Gibb winches in fine fettle with a regime of regular maintenance. Here he shows how it’s done
I replaced the original nonself-tailing genoa sheet winches on my Sadler 34 Straitshooter just as Gibb went out of business,
We were looking for Lewmars of about size 43, but instead we finished up with new Gibb 50s for less than half the price.
They have been utterly reliable and thankfully have never needed any spare parts, which are now becoming increasingly rare.

A few suitable screwdrivers is all you need to service each two-speed winch. Credit: Vyv Cox
Because of the need to keep them in tip-top condition, I maintain them regularly.
This is quite simple to do, and well within the capability of any boat owner, but there are a few tricks worth knowing.
The only tools required are a few suitably sized screwdrivers to lift the circlips.
Step 1: Dismantling a two-speed winch

Credit: Vyv Cox
1. Doing the job afloat in the marina, my first action is to put the cockpit table as a guard on the side deck, just in case any parts are dropped.

Credit: Vyv Cox
2. Looking at the top of the winch, the upper circlip can be seen surrounding the winch handle socket.

Credit: Vyv Cox
3. The upper circlip is removed using a small screwdriver, allowing the top plate to be lifted off.
This reveals another circlip beneath the brass-toothed wheel that controls the orientation of the stripper arm.

Credit: Vyv Cox
4. The lower circlip is removed in the same way as the upper one, lifting the exposed end and ‘unwinding’ it around the central stem.
I put a finger down the socket while doing so, as there is energy in the circlip and it could fly off.

Credit: Vyv Cox
5. The drum, complete with the stripper arm, can now be lifted off the centre stem.
I find that the bearings will normally remain on the stem rather than coming off with the drum, but it is best to check and lift carefully in case they fall out.

Credit: Vyv Cox
6. Once the drum is off, this is what is seen beneath.
The plastic-caged needle roller bearings can be slid off the centre stem at any time once the drum has been removed.

Credit: Vyv Cox
7. View inside the drum. There are no moving parts here.
Check the gear teeth for wear or fracture. The stripper arm is now free to detach from the drum.

Credit: Vyv Cox
8. The gear spindles can now be lifted, releasing the gears for withdrawal.
When fully assembled the spindles are held down by the drum: no other fixing is needed.

Credit: Vyv Cox
9. The double gear can now be slid out. This one is greasy but otherwise in good condition.

Credit: Vyv Cox
10. On the reverse of the double gear is a set of pawls with springs.
Check the springs are intact by pressing the pawls inwards.
If it needs cleaning up, slide the smaller gear out while holding around the pawls so they don’t fly.

Credit: Vyv Cox
11. The remaining single gear can now be withdrawn after lifting its spindle.

Credit: Vyv Cox
12. The central drive spindle is located by a slotted brass keep plate that sits beneath the double gear.
It usually slides out with the gear, but if not now is the time to pull it out.
Its slot engages with a groove in the spindle base, preventing vertical movement.

Credit: Vyv Cox
13. When the spindle has been withdrawn the final gear at its base can be slid out.
The groove into which the keep plate engages can be seen below the splines.

Credit: Vyv Cox
14. Another set of pawls and springs is set into the spindle.
These need to be cleaned up and checked but, again, I rarely find the need to dismantle them further
Disassembly is now complete
Everything needs to be cleaned up, which I find most effective using a paintbrush with kerosene or turpentine substitute.
Dry off with paper towels or a soft cloth.
The needle rollers need to be rotated while being washed with solvent to remove any debris that may be inside the cages.
Continues below…
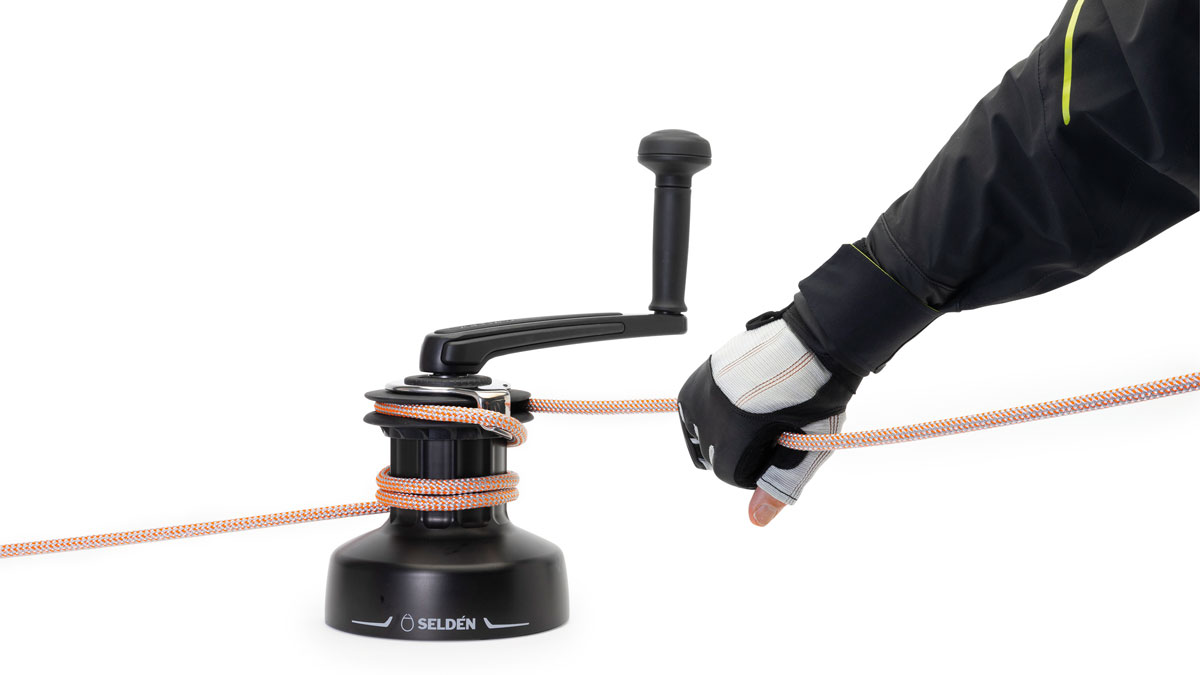
Seldén S-series and E-series winches
The 'game changing' advantages of Seldén's new line of manual and electric winches include clever features to speed up tacking…

Electric winches: take the strain out of grinding
Rupert Holmes looks at electric winches and electric winch handles

Electric winches, handles and furlers – a buyer’s guide
Maybe you want to spend more time sailing single-handed, or perhaps you’re reaching the age when winching up the mainsail…

Six DIY tips to make your boat sail better
You don't need to spend a lot of money to get an older boat going more efficiently
Once everything is clean the bearings and gears can be regreased. I use Lewmar high-performance grease for this job.
The pawls should be oiled with light machine oil.
Do not be excessive with either oil or grease – thin films are sufficient in both cases.
Step 2: Putting the two-speed winch back together

Credit: Vyv Cox
1. Start by replacing the gears at the base of the main spindle but don’t push the brass keep plate home (as shown here) at this stage.

Credit: Vyv Cox
2. Insert the main spindle, then push the brass keep plate home to engage with the groove at the base of the spindle.

Credit: Vyv Cox
3. Replace all gears. The spindle for the double gears locks the keep plate, preventing it from sliding outwards.
Check that it all rotates smoothly.
Replace the greased bearings, after which the drum can be refitted: remember, its internal gear teeth need greasing, too.

Credit: Vyv Cox
4. Make certain that the stripper arm is in the correct position for winching.
Put the lower circlip back, then the top plate and the upper circlip. Job done!
Enjoy reading How to service your two-speed winch: step-by-step?


A subscription to Practical Boat Owner magazine costs around 40% less than the cover price.
Print and digital editions are available through Magazines Direct – where you can also find the latest deals.
PBO is packed with information to help you get the most from boat ownership – whether sail or power.
-
-
-
- Take your DIY skills to the next level with trusted advice on boat maintenance and repairs
- Impartial in-depth gear reviews
- Practical cruising tips for making the most of your time afloat
-
-
Follow us on Facebook, Instagram, TikTok and Twitter