
Brian Johnson makes a hull fitting for a new depth transducer that communicates with his boat’s older instruments
Many makes of depth displays use a standard transducer such as those made by NASA, Airmar, B&G, Raymarine and other manufacturers worldwide.
These work by transmitting and receiving a signal of around 150kHz, but some are lower frequency at 50-100kHz, and some are designed for deeper water at around 200kHz.
Having said that, you may find that ‘legacy’ (ie elderly) instruments are not too fussy about the frequency, so a sounder designed for 100kHz may work with a 150kHz transducer.
As well as that the display heads and electronics used on older instruments can often be calibrated, further extending the range of transducers that can be matched to them.
Our Westerly came with a full and very impressive set of Navico 200 series displays and electronics fitted in 2005 at great expense – I reckon the cost of the electronics almost matched that of the boat’s value!
As impressive as the instruments looked, none of them worked because the transducers had not survived the rigours of marine life, so I set about trying to fit some replacements that would talk to Navico electronics.

NASA depth transducer with extra nut to fit in-hull fitting. Credit: Brian Johnson
Flushed with success from fitting an electromagnetic log transducer and getting it hooked up to a Navico display, I then looked at the remnants of the through-hull depth transducer.
It was in a sorry state with a badly corroded and mashed cable coming out of the transducer – which explained the random depth readings on the display.
Navico (now Simrad) dealers told me the transducer was obsolete with the usual comment ‘You’ll need to buy a completely new system, sir’.
Being a thrifty soul I saw this as a challenge!
The ever-helpful people at NASA told me their standard 523-TD transducer might match the Navico DS200 electronics so I took a chance and bought one.
It came with 7m of coaxial cable terminating in a coax TV aerial plug – just like the original Navico.

In hull fitting made from 50mm domestic drain pipe and blanking plug. The end is cut on a slant to fit the slope of the hull. Credit: Brian Johnson
I decided to fit it in-hull right next to where the dead transducer was located.
I could have removed the Navico skin fitting and replaced it with a NASA through-hull unit, but the old one was completely glassed in and watertight so why chop it out?
NASA sells a kit for in-hull fitting, which comes with everything you need to fit the transducer, but I had a lot of domestic plastic drainage fittings in my workshop that looked like they might do the job.
I found a piece of 50mm diameter PVC pipe and a blanking plug that fitted it perfectly.
Carefully measuring the slope of the hull at the location using a piece of card and a short spirit level (the boat was on the hard), I cut an angle on the hull end of the pipe to ensure it would be vertical when fitted to the hull.
The next job was to drill a hole in the blanking plug through which the transducer would fit. I used a step drill but any suitable bit would work.
Fitting the transducer to the blanking plug needed an extra plastic nut which I gleaned from the top of the old transducer, but they’re available from NASA, and you get the extra one with their fitting kit.

Drilling blanking plug to fit transducer. Credit: Brian Johnson
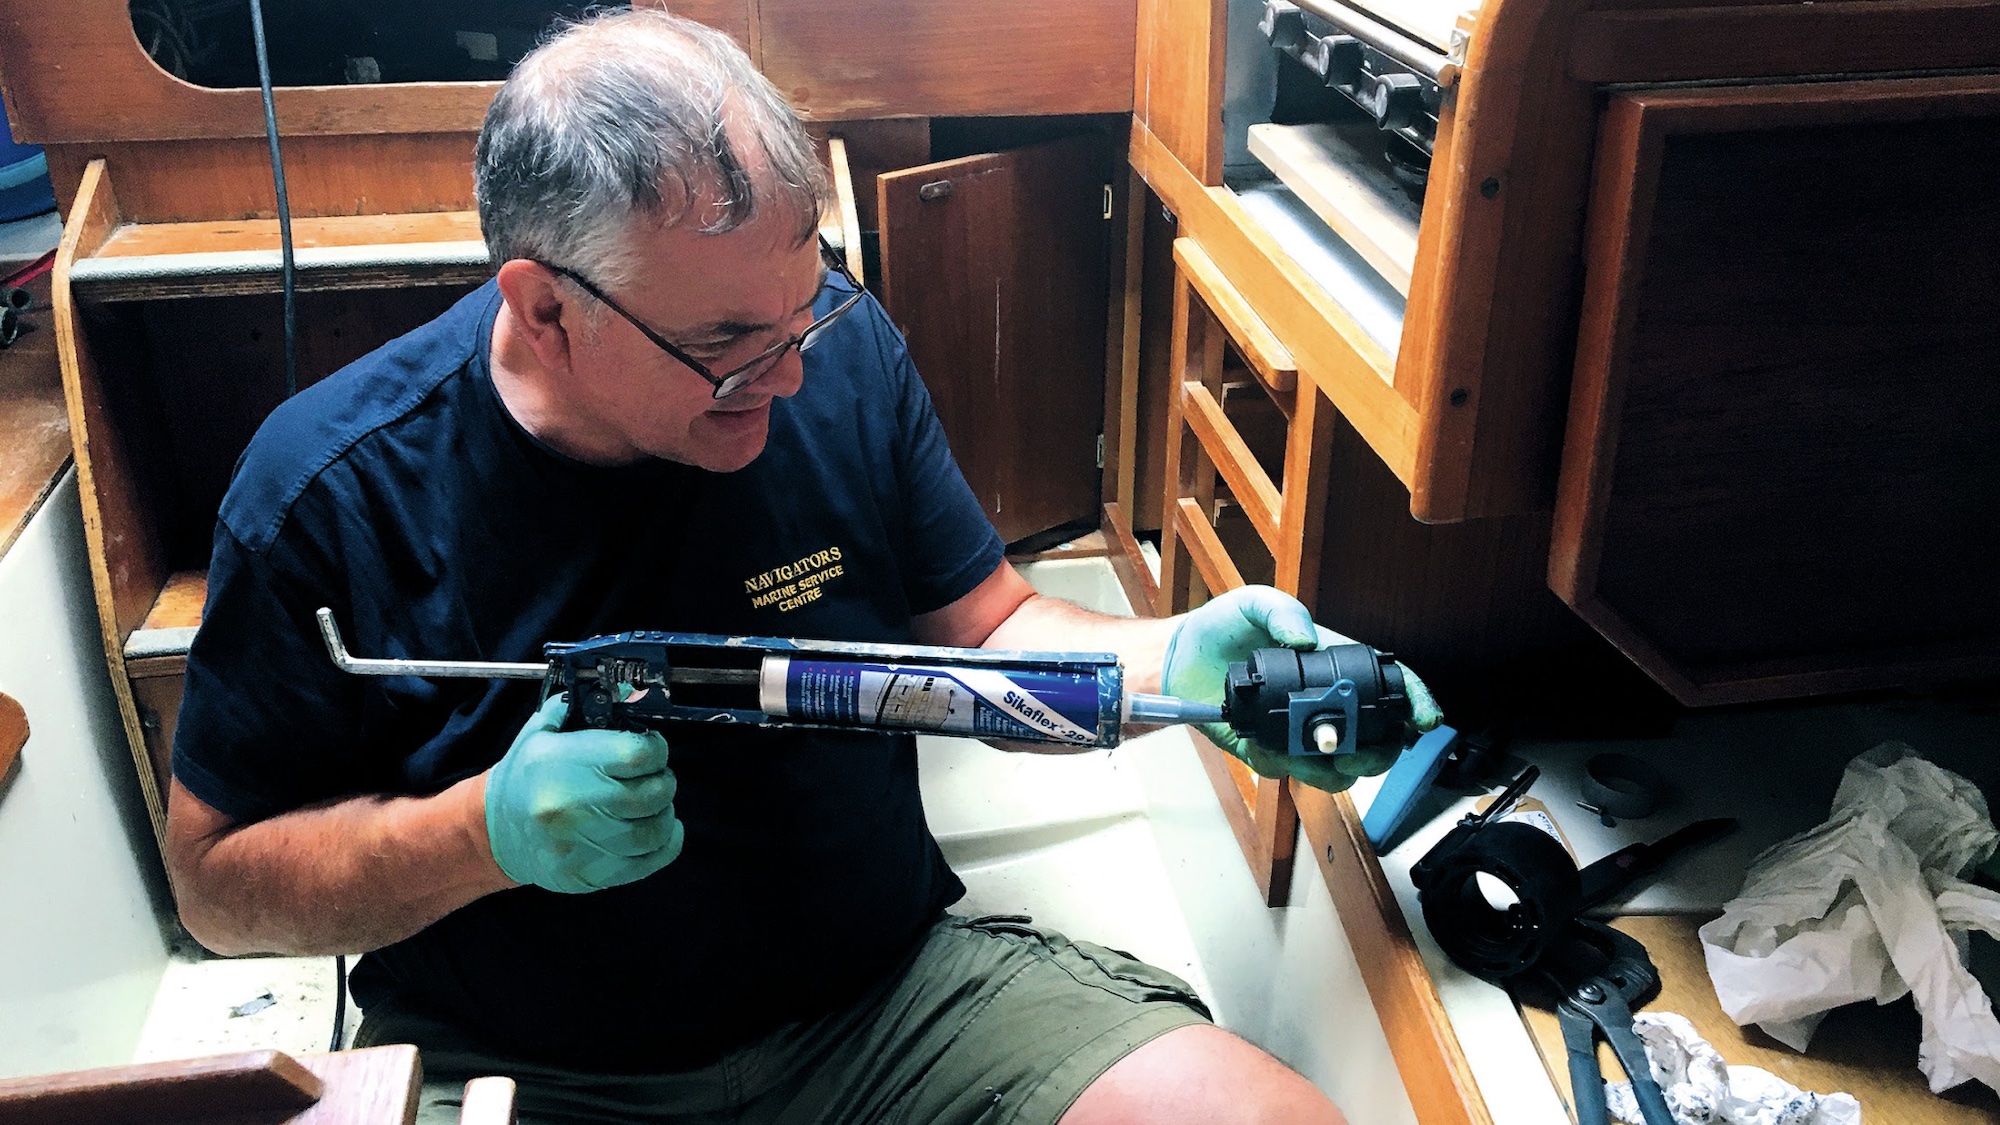
Next came the task of fixing the pipe into the hull using some West System epoxy, thickened with 407 filleting powder.
The trick here is to roughen the outer surface of the pipe and the hull surface using 80-grit sandpaper and to thoroughly clean the surfaces with acetone.
I made a ridge of thickened epoxy about 2cm wide and 2cm high around the area I’d marked on the hull, then gently pushed the pipe into the epoxy before allowing it to cure overnight.
Using the old transducer cable as a mousing line, the next morning I threaded the new cable through the existing conduits to the Navico junction box at the aft end of the saloon, about 5m away from the transducer.
Plugged into the Navico socket, it was time to test it.
When the boat was back in the water, I filled the transducer pipe with water – just enough to cover the end of the transducer.

Blanking plug and transducer fitted using one nut above and one below the plug to adjust height. The plug just slides into the pipe – no glue is used. Credit: Brian Johnson
Why water and not the usual oil? Because if it all went wrong or the pipe leaked it would be easy to mop up without oil spilling into my nice clean bilge.
The water was replaced with baby oil when I was satisfied that the fitting didn’t leak and the system worked as it should.
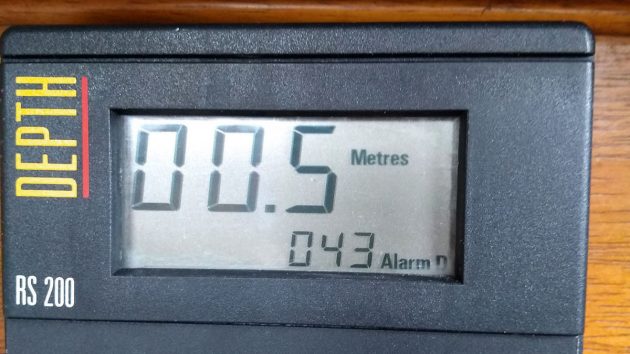
With bated breath and a muttered prayer to Neptune, I switched it on; and to my amazement, it worked!
Not only did it work, but the calibrated offset that compensates for the draught of the keels was also spot on.
So if your depth transducer is defunct, look for one that’s a close match to the original frequency and fit it in-hull.
Chances are it will work with your old display, saving money and the hassle of fitting a new display head.
I now had two Navico instruments that worked – depth and speed – but with the wind sensor missing from the mast top, another chat with the boffins at NASA looks likely!
Continues below…

Installing a transducer on a boat
Brian Johnson replaces his old paddlewheel log with an electromagnetic transducer
What is an in-hull transducer?
On our PBO Project Boat Maximus we need sonar simply for measuring depth, but the advanced electronics of fish finders…
Fitting new seacocks and skin fittings on the PBO Project Boat
Maximus, our PBO Project Boat, had four seacock fittings that need changing – three ball valves in the forepeak (1…
Enjoy reading Making a hull fitting to fit a depth transducer?
A subscription to Practical Boat Owner magazine costs around 40% less than the cover price.
Print and digital editions are available through Magazines Direct – where you can also find the latest deals.
PBO is packed with information to help you get the most from boat ownership – whether sail or power.
-
-
-
- Take your DIY skills to the next level with trusted advice on boat maintenance and repairs
- Impartial in-depth gear reviews
- Practical cruising tips for making the most of your time afloat
-
-
Follow us on Facebook, Instagram, TikTok and Twitter