
Mike Attree makes curly cord to help him fix his broken windlass
Some things on a boat you really miss when they stop working and an electric windlass is definitely one of those, writes Mike Attree.
Hauling up a heavy anchor and 40m of chain by hand is hard work.
Our windlass first failed when the remote control cord’s connector simply fell apart; it was an unbranded, seemingly homemade item that had essentially disintegrated over time.
The connector was clearly not suitable for its intended use, so we replaced the broken connector with a properly robust, durable and waterproof Bulgin Buccaneer, quietly confident that things had now been properly sorted.
Fast forward a couple of years, and on pressing the ‘Up Anchor’ button at a busy anchorage we were once again rewarded with complete silence, and that feeling of ‘oh dear, not again’.
After a bit of multimetering we established that the remote control wasn’t providing the necessary contact closures at the deck connector, and this time the problem appeared to be a faulty curly cord.

Old remote control cable (top left) in Mike’s anchor locker. Credit: Mike Attree
On inspection, the ends of the cord were black and crumbly with corrosion that had crept some way back up the cable under the insulation.
Needless to say, the cord was constructed with untinned copper cores, and given its exposed location in the bow locker was never going to last very long.
We cut the cable back to clean copper, re-terminated the connector, and to our great relief the windlass burst back into life; albeit with the operator having to crouch down due to the shortened cord.
We searched high and low for a replacement cord, but unfortunately, Google was unable to unearth a tough 3-core curly cord with tinned copper cores – unless you were prepared to buy 10km of bespoke curly cable made to your requirements, that is.
We’d just about given up trying to find something suitable when we stumbled across a YouTube video showing how to make DIY curly cords.
The process looked doable, so we gave it a go and learned some lessons along the way.
A PVC curly cord can be stretched to about three times its closed length and straight PVC marine cable is available in short lengths.
As three times expansion was enough for us, that is what we used.

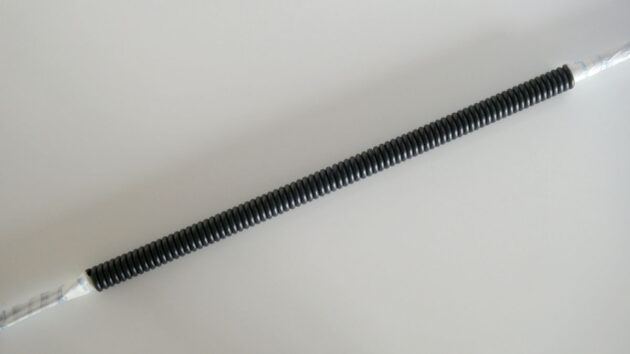
New curly cable and connector fitting. Credit: Mike Attree
We wanted our cord to extend to 180cm (from a closed coil length of 60cm) and 15mm felt about right for the coil’s internal diameter.
That meant we’d need 6m of cable to make the cord. We bought some 3-core stranded 1.5mm2 tinned marine cable, and wound it tightly onto a 15mm diameter rod, taping the cable ends to hold the coil firmly in place.
We then ran a hot air gun slowly up and down the coil for about 10 minutes while rotating the rod, then left the cord to cool.
It’s a good idea to wear gloves when heating the coil, as the cable needs to get quite hot in order to ‘fix’ it into its new shape.
To complete the cord, we applied dielectric grease to the connector’s screw terminals, attached the cable and soldered on the remote control box.
Some people recommend ‘inverting’ the coil after forming – a process that involves working a reverse twist along the coil.
The thinking is to tighten up the coil, but it didn’t work for us and after a few unsuccessful attempts we had to remake the coil.
Making our own curly cord turned out to be a quick and easy process, and the new cord works well.
It’s tougher and far more corrosion proof than the original, and this time we’re confident we have a permanent solution.
How to make a DIY boom brake for £8.95
David Holmes reflects on the success of his simple boom brake
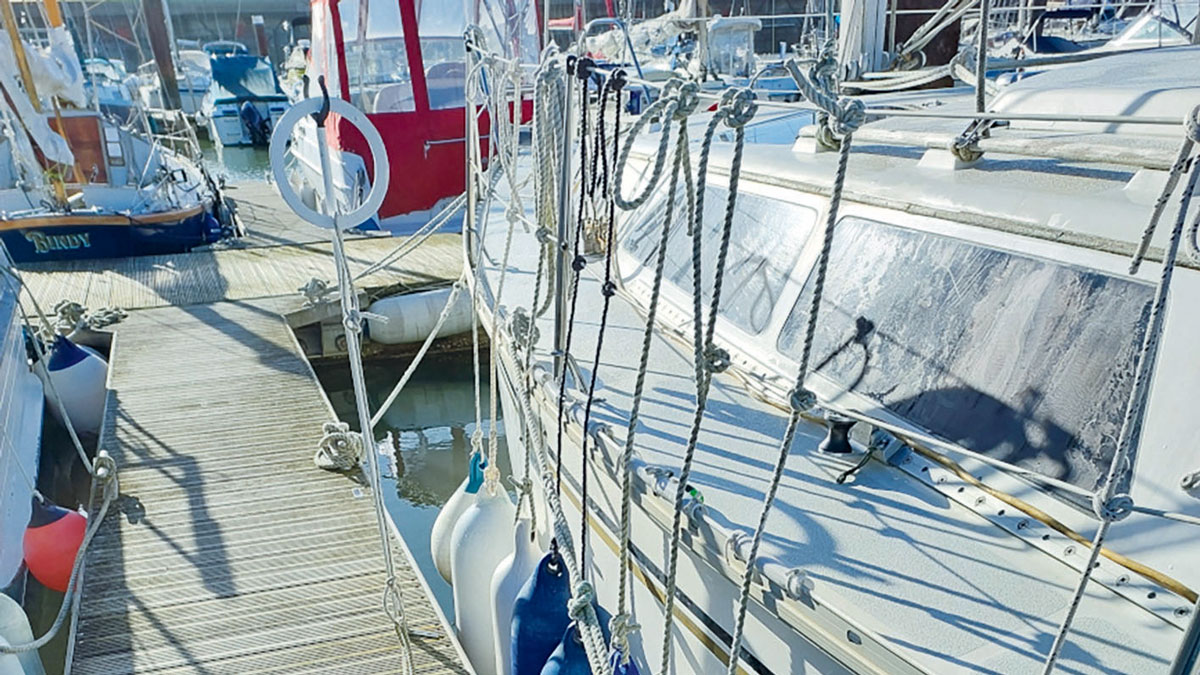
How to make an easy marina mooring pick-up device
Jon Sharp devises an easy marina mooring pick-up using a hoop on a pole
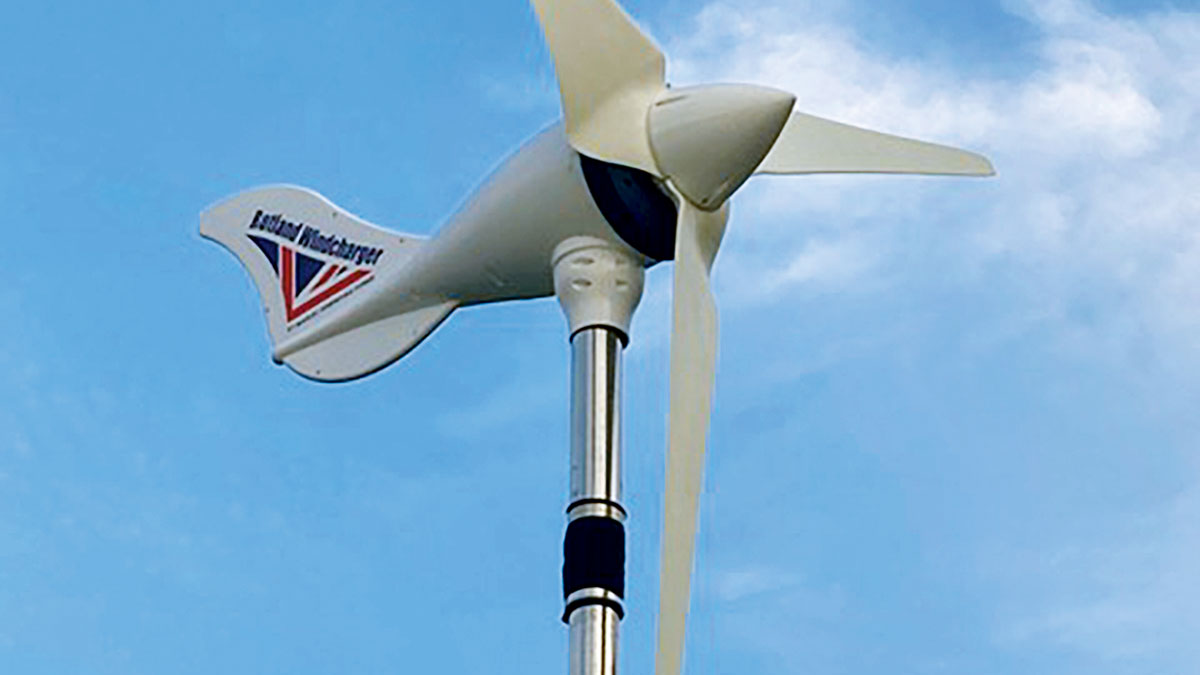
How to make an anti-vibration mount for your wind turbine
Feb up with the sound of rumbling from his wind turbine, Chris Mardon makes an anti-vibration mount for a quieter…

How to keep an easy-to-release anchor secure and prevent it from jiggling free
Trevor Martin shares his simple solution to keep his anchor secure when not in use
Want to read more practical articles like How to make curly cord?
A subscription to Practical Boat Owner magazine costs around 40% less than the cover price.
Print and digital editions are available through Magazines Direct – where you can also find the latest deals.
PBO is packed with information to help you get the most from boat ownership – whether sail or power.
-
-
-
- Take your DIY skills to the next level with trusted advice on boat maintenance and repairs
- Impartial in-depth gear reviews
- Practical cruising tips for making the most of your time afloat
-
-
Follow us on Facebook, Instagram, TikTok and Twitter