
Ben Lowings shares how to tie the most useful sailing knots
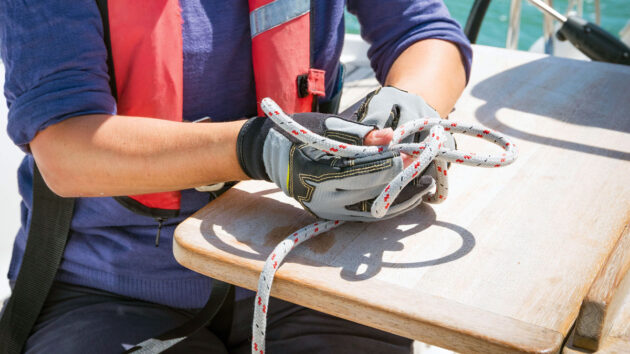
There are multitudes of sailing knots but, thankfully perhaps, today’s boat owner only needs to learn a few.
These are mostly, but not exhaustively, the sailing knots we’ll show here.
A single boater might tie many thousands of these a year.
First off is a reminder that knots weaken rope.
The 1951 Admiralty Manual of Seamanship grandly states: ‘All knots, bends, or hitches, reduce the strength of a rope in that ponent of it where the knot, bend, or hitch is made. This reduction varies from 40 to 60%.’
The gist of this is really that knots are still makeshift, and although powerful, are designed to be temporary linkages.
Sailing knots: Reef knot
Top of my list for the most useful knot for joining two pieces of line with the same material and diameter is the reef knot.
It’s an overhand knot tied on top of an overhand knot.
The purist might begin an instruction list with ‘left over right and under’ but since variety is the spice of life…
The alternative you’ll probably know is a Granny Knot – also mentioned in the Admiralty Manual: It will ‘either slip or jam, depending upon whether it is made with or against the lay of the rope; a granny is also very liable to come undone when there is no strain on the knot.’ \
For these reasons, Royal Navy officers are advised, ‘it is never used by seamen.’
How to tie a reef knot: step-by-step

Credit: Ben Lowings
1. Take the right hand end and pass it over the left hand end.

Credit: Ben Lowings
2. The right hand end then goes underneath the left hand end.

Credit: Ben Lowings
3. Still with the same end, put this new left end over the right.

Credit: Ben Lowings
4. The two overhand knots should look symmetrical on the horizontal axis.

Credit: Ben Lowings
5. When you’re sure you have the distinctive reef knot shape, pull tight.
Sailing knots: Bowline
A bowline is good for affixing sheets to headsail clews. This might well be something the crew has to do every time you go sailing.
Some learn this by creating a hole that a rabbit then emerges from, circles around the tree and back in the hole.
Muscle memory and sheer repetition can help you tie this blindfold, or on the foredeck on a stormy night with no decklight or headtorch.
How to tie a bowline: step-by-step

Credit: Ben Lowings
1. Make a loop in the end of the rope. Or a bight in your line, to be proper.

Credit: Ben Lowings
2. Pass the end over the line itself.

Credit: Ben Lowings
3. Grip both bits and flick the line away from you. This twists a mini-loop into the standing part and keeps your end in it.

Voila! a rabbit coming out of a hole…

Credit: Ben Lowings
4. Take the end underneath the standing part. Or make your rabbit go round the tree…

Credit: Ben Lowings
5. Put the end back through the mini-loop. The rabbit going back in its hole…

Credit: Ben Lowings
6. Pull both sides. I find the knot before it is pulled tight has a recognisable shape, a little like a reef knot. Bowlines are not designed to be undone in a hurry. The RNLI teaches lifeboat crew to make the tail – the loose end hanging from the knot after it’s pulled tight – to be almost as long as the loop itself, so that the bowline doesn’t fall apart under load.
Sailing knots: Stopper knot
A figure of eight might not be enough of a stopper on a larger vessel, in which case the Admiralty stopper knot is your best bet.
How to tie a stopper knot: step-by-step

Credit: Ben Lowings
1. Make a loop and pass the end over the line.

Credit: Ben Lowings
2. Twist the end round and round the line at least twice, more if you fancy.

Credit: Ben Lowings
3. Put the end through the loop and tighten it up. The finished shape reminds me of the ‘honey dipper’ logo from 1980s Warner Brothers films.
Sailing knots: Rolling hitch
To tie a line into the middle of another line is very useful – an instance being to take the pressure off a line which has been jammed in a winch.
A separate rope can relieve the tension.
The Rolling Hitch is so-called because it slides or ‘rolls’ in one direction down the line, but holds fast in the other.
Thus, remember which way you want the tension to go, or make sure the two thickest wraps are where you want the hitch to hold onto the line.
How to tie a rolling hitch: step-by-step

Credit: Ben Lowings
1. Lay a loop horizontally over the target line.

Credit: Ben Lowings
2. Put the end underneath the target line and then over the standing part of your hitch line.

Credit: Ben Lowings
3. Put the end over the target line, under the target line, over the standing part of your line and then over your target line.

Credit: Ben Lowings
4. Keep this end and pass it back under the target line and under the hitch line.
Sailing knots: Clove hitch
If you want to attach your line to a fixed rail or bar – to tie a fender to a guardrail, for example– then the clove hitch is what you want.
Round turn and two half hitches A more secure knot to tie up to a mooring buoy ring, for example, would be the Round Turn and Two Half Hitches.
How to tie a clove hitch: step-by-step

Credit: Ben Lowings
1. Put the end over the bar and back under it.

Credit: Ben Lowings
2. Cross the end over the standing part and over the bar.

Credit: Ben Lowings
3. Put the end back under the bar.

Credit: Ben Lowings
4. Pass the end over the bar and under the crossways bit. In reality, this is the trickiest part if a fender’s weight is hanging from the standing part.

Credit: Ben Lowings
You have the weight of the fender snapping the half-made knot to the rail, and you’re trying to sneak the end between the line and the rail.
Sailing knots: Round turn and two half hitches
A more secure knot to tie up to a mooring buoy ring, for example, would be the Round Turn and Two Half Hitches.
How to tie a round turn and two half hitches: step-by-step

Credit: Ben Lowings
1. End over the bar and under.

Credit: Ben Lowings
2. Then back up over the bar again…

Credit: Ben Lowings
3… and under again once more.

Credit: Ben Lowings
4. Pass the end over the standing section of the line.

Credit: Ben Lowings
5. Pass the end under the standing section towards the bar and through the gap.

Credit: Ben Lowings
6. Pass the end over the standing section of the line.

Credit: Ben Lowings
7. Then pass the end under the standing section towards the bar and through the gap.

Credit: Ben Lowings
8. Pull on the two sections of line leading into the knot, not on the bar.
Sailing knots: Zeppelin
Finally the Zeppelin knot. It has a fantastic name and is used like a reef knot to tie two bits of rope together.
Its origins are perhaps American and may have developed as a fishing line junction.
There is no evidence it was used in Germany or the US to tie massive airships to the ground. Bear in mind it is devilish to undo.
Another way of tying it is to bring together two loops like little magnifying glasses and turn the ends in quickly.
How to tie a Zeppelin:step-by-step

Credit: Ben Lowings
1. Make a ‘S’ shape of sorts with two loops.

Credit: Ben Lowings
2. Shunt the ‘S’ together by overlapping the lower loop over the higher.

Credit: Ben Lowings
3. Put the end of the uppermost loop under itself.

Credit: Ben Lowings
4. Put the end of the lowermost loop over itself.

Credit: Ben Lowings
5. The end of the lower loop goes under the top loop, and the end of the top loop goes over the lower loop.

Credit: Ben Lowings
6. Pull the ends through so it looks like this.

Credit: Ben Lowings
7. Pull it tight and the two ends will stick out at right angles. Perhaps these make good hand holds for when the Zeppelin takes off!
Disclaimer: Up to now I have foregone the pleasure of owning or perusing the Ashley Book of Knots.
This is by all accounts the ne plus ultra of the subject in hand and for ‘Further Reading’ you need never go further.
Like the best literature, it is said to transcend its niche and transform the obscure or mundane into art.
The oysterman’s knot, the blood knot… I for one can’t wait to discover them all.

Best boat rope – the right rope for mooring lines, halyards and sheets
At this time of year we often start to put into place plans for upgrading our boats for the new…
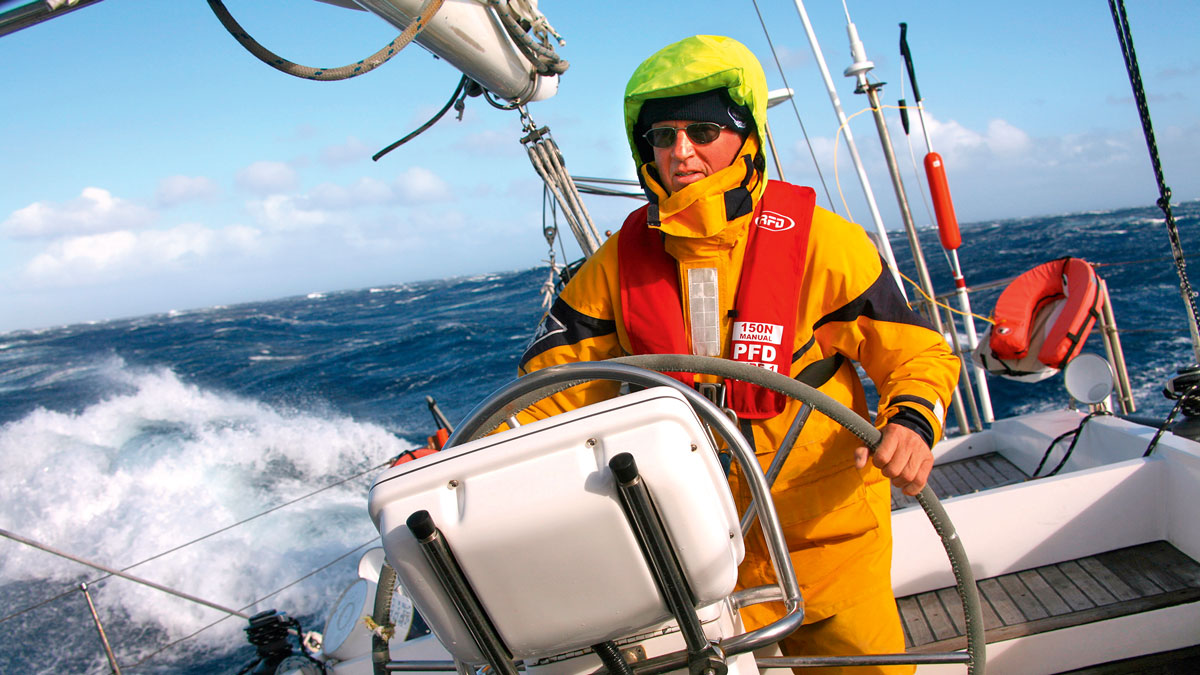
Heavy weather sailing techniques: how to protect your boat in storm conditions
Øyvind Bordal and Magne Klann explain the steps you need to take to protect your rig and sails when the…
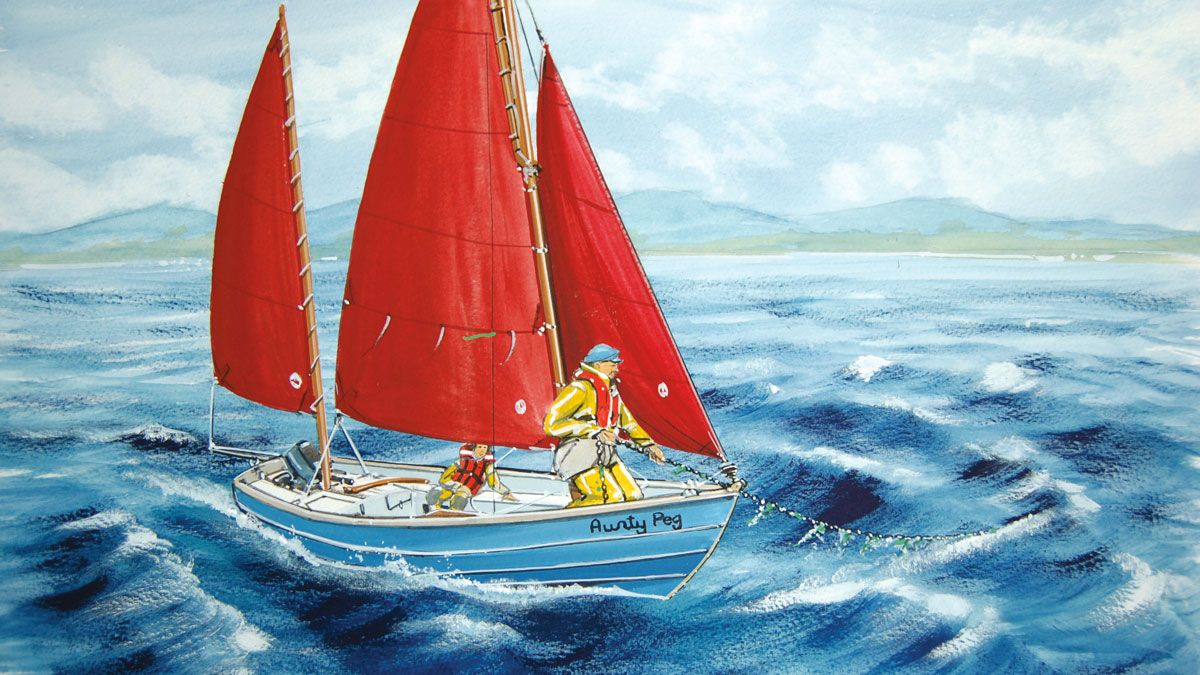
The Juggens manoeuvre to get you off a lee shore
Peter Kersey draws on the wisdom of an old smack sailor to get his engineless Drascombe Lugger out of trouble…

Sail trim: Sailing downwind without a spinnaker
Sailing efficiently when the wind comes astern doesn’t mean you have to fly a spinnaker or cruising chute. David Harding…
Want to read more practical articles like 7 sailing knots every boater should know?

A subscription to Practical Boat Owner magazine costs around 40% less than the cover price.
Print and digital editions are available through Magazines Direct – where you can also find the latest deals.
PBO is packed with information to help you get the most from boat ownership – whether sail or power.
-
-
-
- Take your DIY skills to the next level with trusted advice on boat maintenance and repairs
- Impartial in-depth gear reviews
- Practical cruising tips for making the most of your time afloat
-
-
Follow us on Facebook, Instagram, TikTok and Twitter