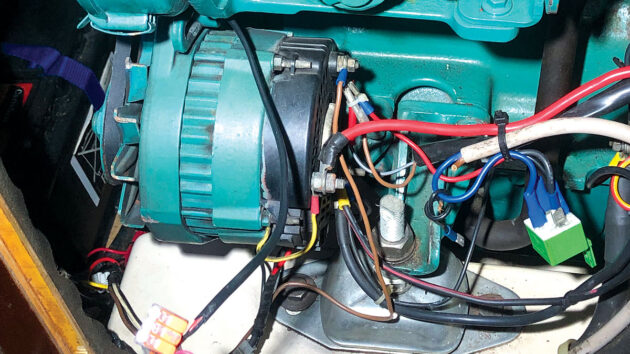
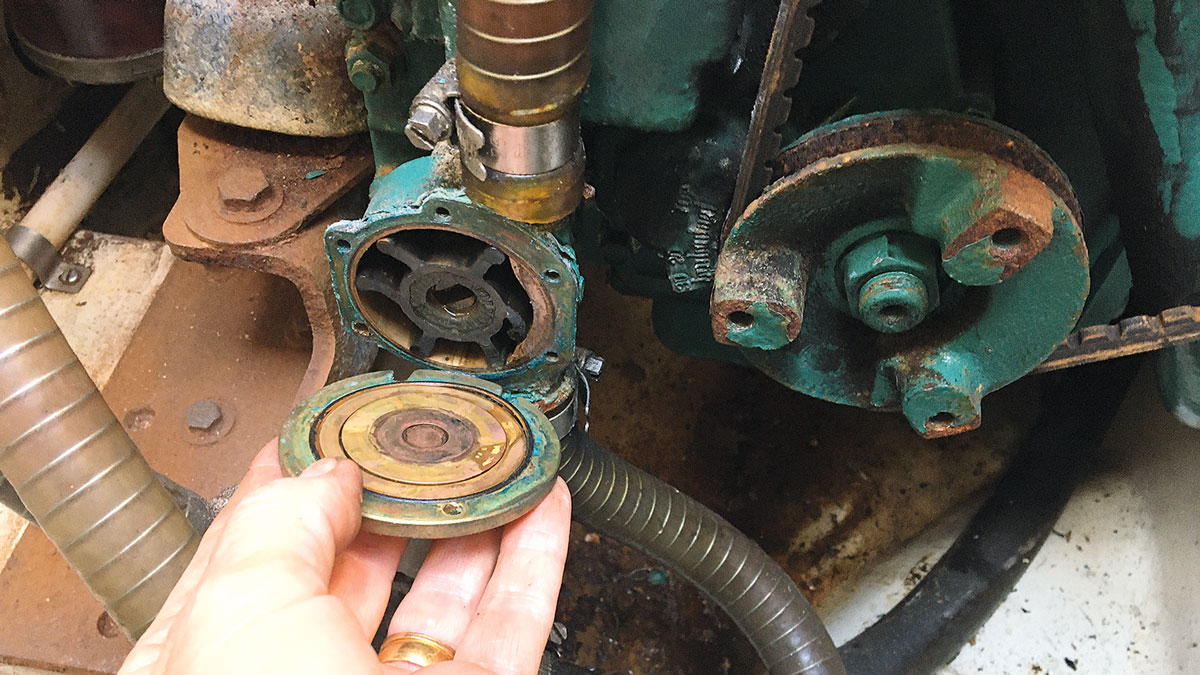
Basic engine maintenance is essential for boat owners. Stu Davies shows you how to bleed the fuel system
The injection system works through a low-pressure lift pump delivering fuel from the fuel tank to the high-pressure injection pump.
This then delivers fuel to the injectors to be injected at the correct moment into the cylinders and is defined by the timing of the injection pump.
There is usually a primary fuel filter near the fuel tank where the initial filtering takes place.
On my Volvo Penta MD22, there is a venerable CAV 296 filter as the primary, with a secondary filter on the engine to do fine filtering.
The CAV 296 was used when I was an apprentice 60 years ago and is basically unchanged to this day.
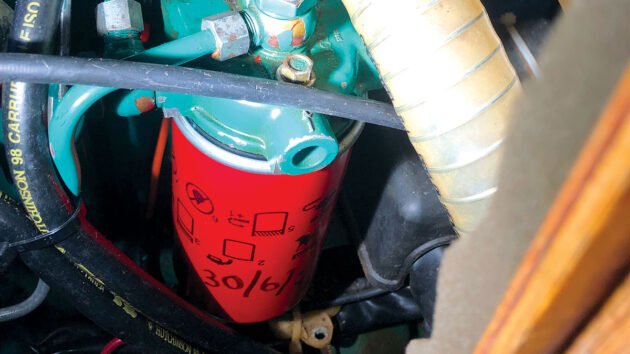
The secondary fuel filter. Credit: Stu Davies
A lot of our engines use these filters. They not only filter but have angled slots in the body which help to spin out any water in the fuel.
The fuel then passes to the secondary filter nearer the engine for fine filtering and then goes to the injector pump.
The fuel enters the injector body where there is a spring-loaded valve which pops open at a predetermined pressure; this allows the fuel to pass through the injector nozzles where it is atomised into the cylinder.
The injector bodies are full of fuel which cools them and any excess is returned to the fuel tank through the leak-off or return pipes.
Vibration and/or changing the filters can loosen filter and fuel line connections allowing air to enter the system.
Air trapped in the fuel system of a marine diesel engine can lead to a frustrating experience.
It can cause difficulty starting and if there is air in the system the injection pump cannot work.
The pump works by pumping, either with pistons or an angled swash plate, fuel at very high pressure to the injectors where it is atomised and squirted into the engine cylinders.
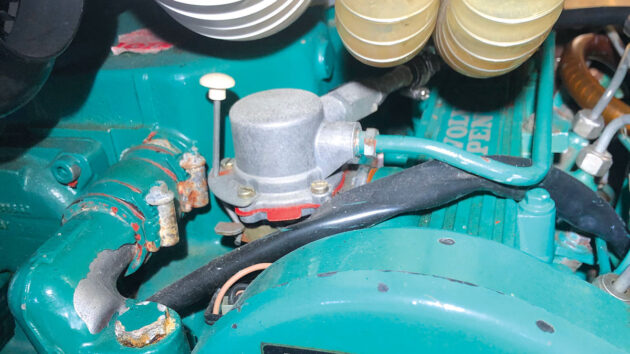
Bleeding the fuel system: The lift pump is used to transfer fuel from the tank to the injector pump. Credit: Stu Davies
Any air in the system either stops the fuel from getting to the injection pump OR compresses the air as it is pumped to the injectors, causing the injectors to fail to open, in order to atomise the fuel.
The pressures in the injection system in our old simple diesel engine injectors are in the region of 200 bar or 3,000psi.
The injector pump compresses the trapped air instead of pushing the diesel fuel through the injector lines.
Luckily, bleeding the air out is a relatively straightforward process you can tackle yourself with a little know-how and the right tools.
Remember, every engine is different – I am using my system as an example, so it’s crucial to consult your owner’s manual for specific instructions and locations of components.
The following information provides a general overview.
Safety first when bleeding the fuel system
Diesel fuel can irritate the skin. Always wear gloves and eye protection when working on the fuel system.
The fuel from the injection pump to the injectors is at 3,000psi – it can penetrate the skin easily. It can seriously injure you if you are not careful.
Have a fire extinguisher readily available in case of any accidents.
If you are changing the fuel filters, make sure you use new seals and o-rings and double-check you’ve tightened all fittings securely to prevent fuel leaks.
Tools and materials:
- Owner’s manual for your specific model of engine
- Rags or absorbent cloths
- Wrench (the size will depend on the bleed screw)
- Container for catching any spilled fuel
- Gloves and eye protection
How air can enter the system
- Changing fuel filters
- Running out of fuel
- Loose connections in the fuel lines
- Cracked or perished fuel lines
Before bleeding the fuel system, it’s helpful to diagnose the cause of the air intrusion.
This can help prevent the problem from recurring.
Check carefully for signs of a leak; talcum powder sprinkled around suspect areas can highlight small leaks.
The bleeding process
Preparation: locate your engine’s fuel filter(s). Most small marine diesel engines will have at least one primary filter, and some, like mine, may have a secondary filter too.
Identify the lift pump. This is a hand-operated pump used to prime the fuel system and push fuel through the lines.
Consult your engine manual for the exact location of these components on your engine.
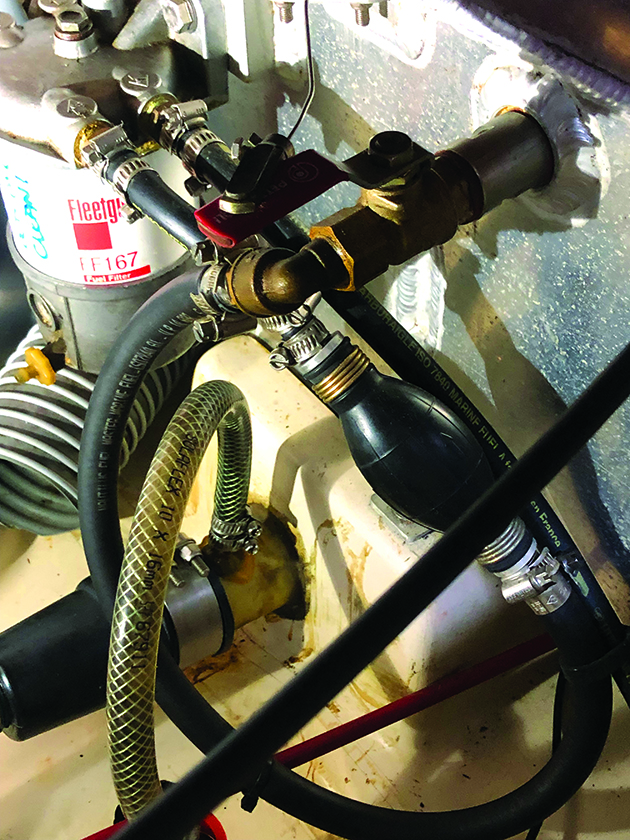
A priming bulb from a Peugeot 504 which Stu fitted to make bleeding the fuel system easier. Credit: Stu Davies
Fitting a hand-operated bulb like I have done makes the process much easier.
I fitted mine from the tank to the inlet of the CAV filter, as pictured above. Fill the primary filter (if applicable): some primary filters have a bleeder screw on top and a clear bowl at the bottom.
If this is the case for your engine, ensure the fuel filter is filled with clean fuel before proceeding.
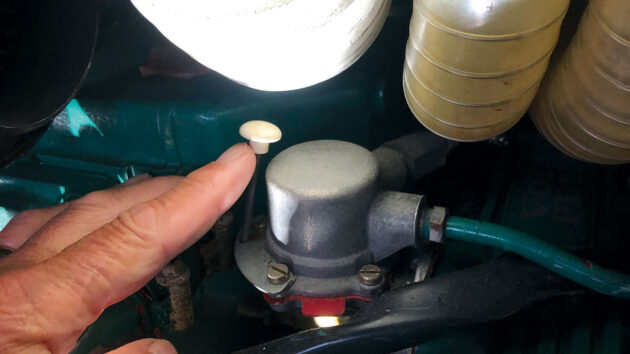
This is the lever used to operate the lift pump when bleeding the system. Credit: Stu Davies
I open the bleeder screw slightly on top of the CAV first and then squeeze the bulb until fuel flows out and there are no air bubbles visible.
Close the bleeder screw securely. If you don’t have a bulb then leave the CAV or primary filter bleed screw shut and use the lift pump to drag fuel through it; just use the secondary filter bleed screw, which is on the pressure side of the lift pump, to allow air out.
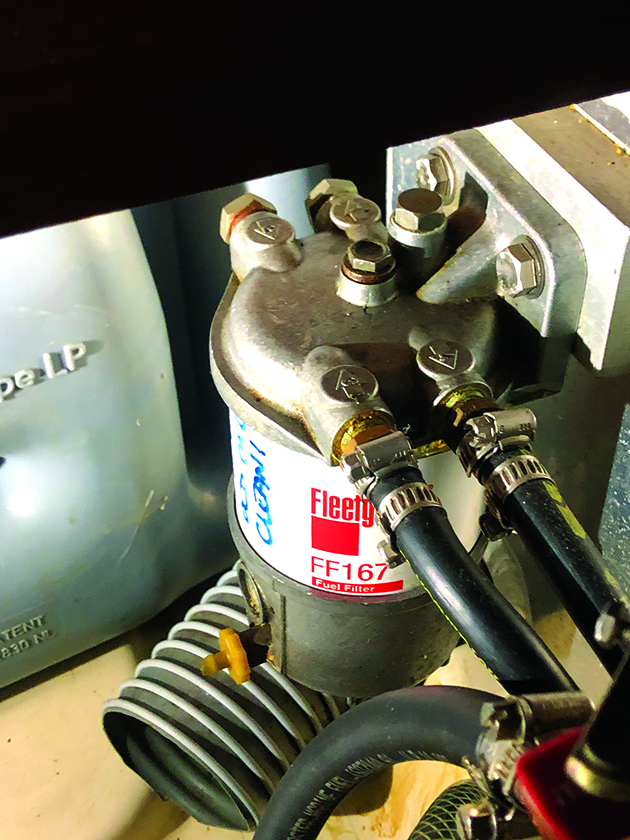
The CAV primary fuel filter on a Volvo Penta MD22 marine diesel engine. Credit: Stu Davies
Most common locations for bleed screws
- On top of the secondary fuel filter (if present)
- On the fuel injection pump
Start bleeding: place a rag under the chosen bleed screw to catch any spilt fuel. Using the appropriate wrench, loosen the bleed screw slightly, typically by half a turn or so. Do not completely remove the screw.
Operate the lift pump: begin by pumping the lift pump lever steadily. You should see a mix of air bubbles and fuel come out of the bleed screw. Continue pumping until a steady stream of clean fuel flows without any air bubbles visible in the fuel.
Tighten the bleed screw: while still pumping the lift pump, tighten the bleed screw you loosened. This maintains pressure in the line and prevents air from re-entering. Wipe up any spilled fuel.
Repeat for other bleed screws: if your engine has additional bleed screws on the fuel injection pump, repeat steps for each bleed screw, working your way from the lowest to the highest point in the system.
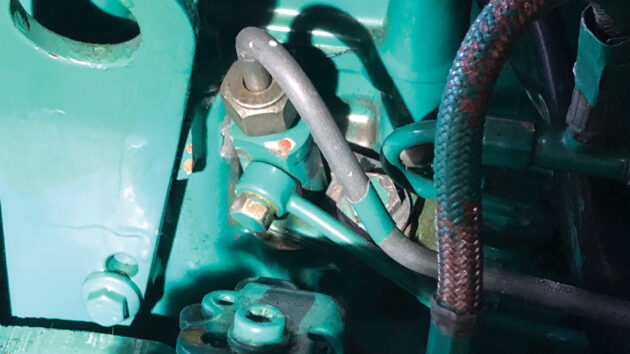
The injector delivery pipe nut will also need bleeding. You can also see the return or leak-off banjo and pipe. Credit: Stu Davies
You will also need to bleed the injector pipes. Loosen the nuts at the cylinder head and crank the engine until fuel comes out of them. Then tighten them up. Don’t forget the system is pressurised to around 3,000psi at this point
Top tip: shut your raw water inlet, if you crank the engine excessively and it doesn’t fire, there is no exhaust gas pressure to push the raw water out of the exhaust system and it can back up and hydro lock your engine. That will ruin your day!
Attempt engine start: once you have finished bleeding all of the identified bleed screws, try starting your engine. If it starts readily and runs smoothly, the bleeding process was successful.
Don’t forget to open your raw water through-hull valve.
Additional tips for bleeding the fuel system
If you’re still experiencing starting difficulties after bleeding, there might be another underlying issue.
Consult your owner’s manual for troubleshooting steps or seek help from a qualified marine mechanic.
Regularly change your fuel filters, according to the manufacturer’s recommendations, to prevent clogged filters from restricting fuel flow.
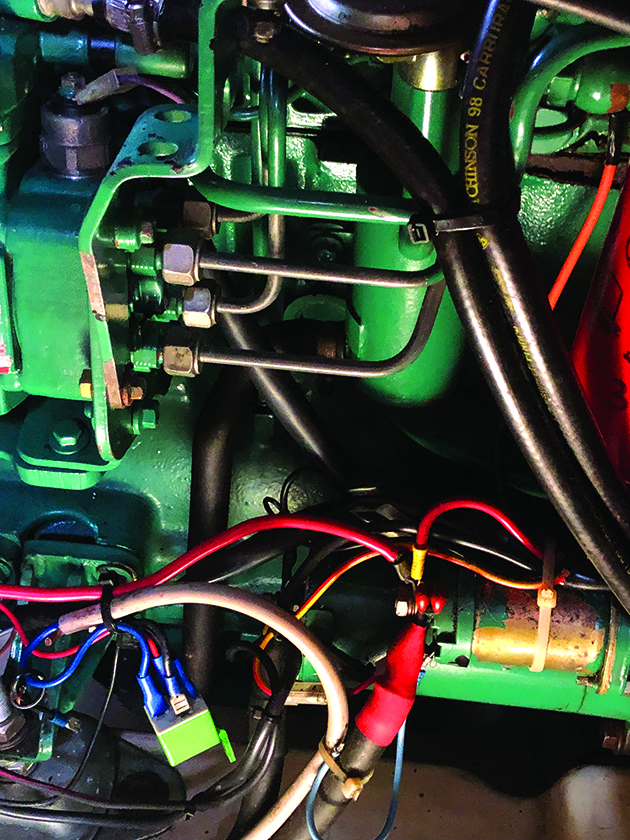
The high-pressure delivery ports connections on the Volvo Penta MD22. Credit: Stu Davies
Bleeding the fuel system on a small marine diesel engine is a manageable task with the proper knowledge and preparation.
By following these steps and referencing your owner’s manual, you can keep your engine running smoothly and avoid the inconveniences caused by air in the fuel lines.
Remember, safety is paramount when working with fuel systems, due to the presence of diesel and fuel injection high-pressure components.
If you’re unsure about any step or encounter difficulties, don’t hesitate to consult a professional marine mechanic.
How to service a marine diesel engine in 12 simple steps
It was time to service the marine diesel engine on our Maxi 84 cruiser. Knowing how to diagnose and fix…
Alternator belt tensioning: step-by-step
Every boat owner should know some basic engine maintenance. Stu Davies shares how to tension the alternator drive belt
How to winterise a boat engine
Engineer Stu Davies explains the steps you should take to make sure your boat’s engine is protected over the winter…
How to change a water pump impeller
Stu Davies shows you how to check and replace an engine’s raw water pump impeller, and explains why it’s an…
Want to read more practical articles?

A subscription to Practical Boat Owner magazine costs around 40% less than the cover price.
Print and digital editions are available through Magazines Direct – where you can also find the latest deals.
PBO is packed with information to help you get the most from boat ownership – whether sail or power.
-
-
-
- Take your DIY skills to the next level with trusted advice on boat maintenance and repairs
- Impartial in-depth gear reviews
- Practical cruising tips for making the most of your time afloat
-
-
Follow us on Facebook, Instagram, TikTok and Twitter


