Andy Pag avoids a big bill to replace a hatch lens in the saloon
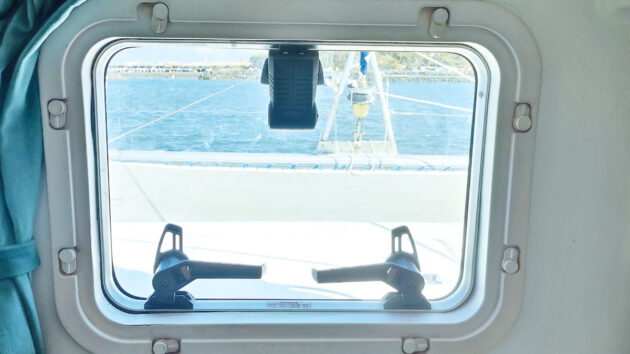
Recently I noticed some crazing around the hinge of a saloon hatch after the hinge had started to make a creaking sound.
It only occurred to me later that the hinge stiffness was causing fatigue of the plastic, and the next thing I knew, there was a big smiley-shaped crack running across the hatch which seeped water every time it rained.
The cost of boat hatch replacement is eye-watering.
Even the cost of replacing just the lens smarts, especially when you think it’s just a piece of cut plastic.
I figured I could fabricate a replacement with the tools I had on board.
These Lewmar hatches hold the lens inside two C-shaped framing brackets.
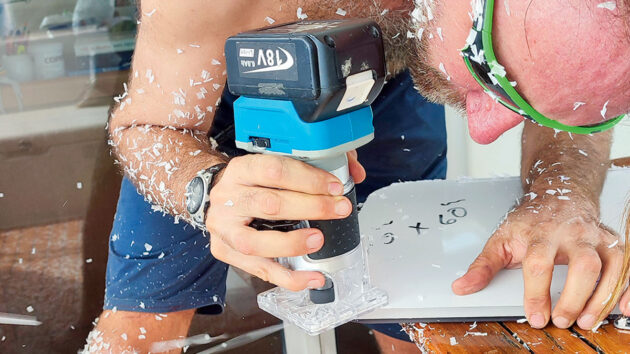
Confining the mess when cutting the acrylic was far from easy on board. Credit: Andy Pag
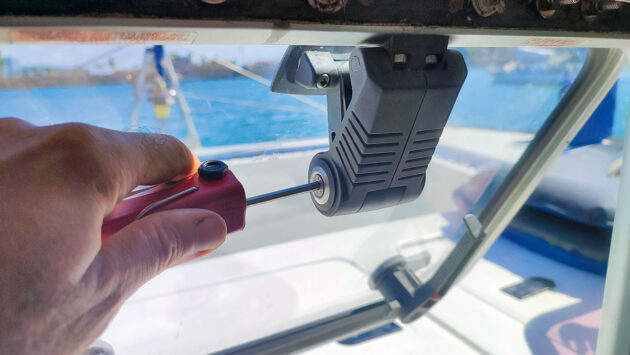
To get them apart, I had to remove the window frame by unscrewing the two hinges. It was a relief not to have to unseat the whole hatch from the wall.
Smaller versions of this hatch hold the lens with a U-shaped bracket, with both hinges on part of the frame, and they can be separated without this step.
The spring mechanism comes apart easily; it’s just a couple of springs and washers tensioned with a retaining screw.
This was also a good time to clean up any corrosion or dirt that was causing the juddering action.
The brackets are held together by an aluminium insert which is very fragile and prone to breaking or corroding to the stainless steel machine screws that hold it in place.
Removing these four screws is the hardest challenge of the job.
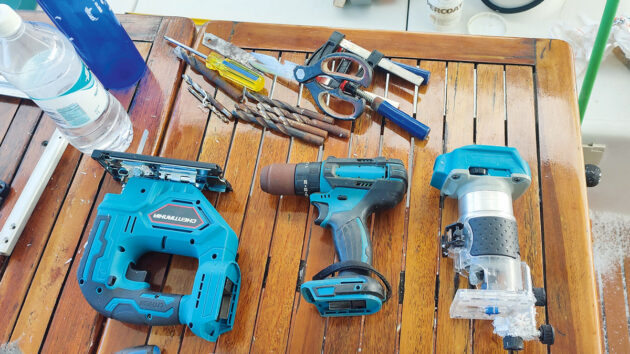
A jigsaw and router are essential for boat hatch replacement. Credit: Andy Pag
If you’re lucky, the stuck ones will all be on the same side of the join allowing you to separate the frames despite the welded threads.
Due to the proximity of the rubber and plastic, you can’t use heat, so penetrating oil, patience and a good impact hammer are going to be your friends on this part of the job.
Once the brackets are unscrewed, they will slide apart but will need strong coaxing to overcome the friction of the rubber seal.
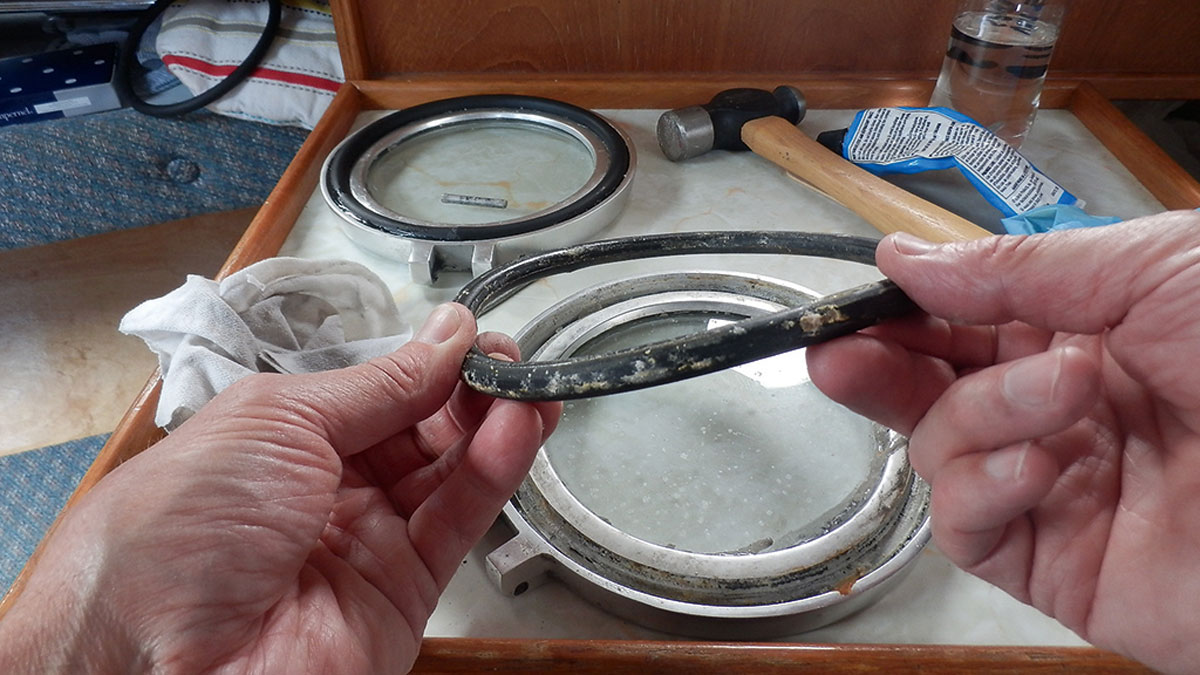
Then it’s a simple job of slipping the rubber seal off without breaking the join.
Start pulling at one of the opposite corners to the join so as not to stress it. Don’t use any sharp-edged tools to prise it off as you’ll need to reuse this seal, so don’t risk damaging it.
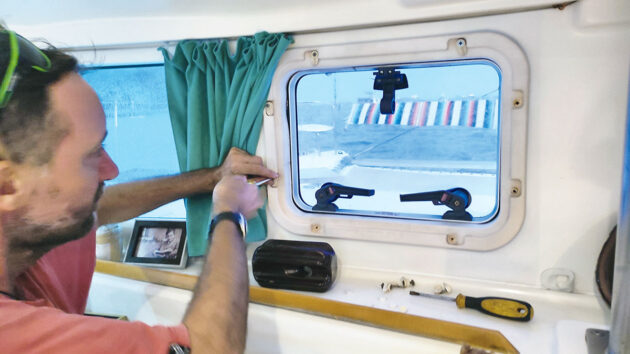
The window frame was easy to remove to access. Credit: Andy Pag
With the lens out I could measure the thickness, (8mm) and the overall size (490mm x 360mm) and could order a replacement.
Initially, I made the mistake of being persuaded by the double-glazing salesman that polycarbonate would be a better replacement as it’s stronger than the original acrylic.
While that’s true, I later found out that polycarbonate is not UV-stable, and far more prone to surface scratching than the much cheaper acrylic which Lewmar uses.
That mistake meant we now had some material for a very expensive fridge shelf, and I needed to make a second trip to a different supplier who sold me three off-cuts of 9mm acrylic (I couldn’t find anyone selling 8mm) big enough to cut a lens from each one.
Paying just £16 each, made the earlier mistake easier to stomach.
A couple of my other hatches are in the early stages of cracking so I figured now would be a good time to set up a production line.
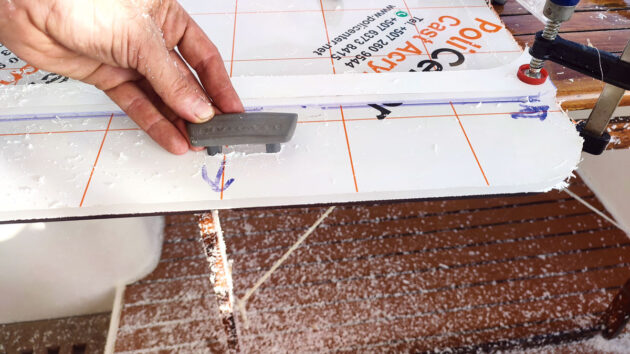
After cutting each hole, make sure the original parts fit. Credit: Andy Pag
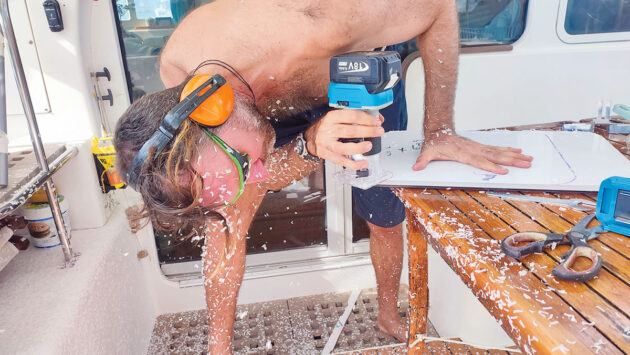
Taking a router to plastic sheeting is a messy job. The cockpit looked like Santa’s grotto and we had to work hard to ensure none of the plastic filings ended up in the sea.
Given the clean-up work needed, it made sense to cut all three lenses at once.
The first one was a bit of an experiment, but by the time I made the third one, I had developed the skills and techniques of a master glazier.
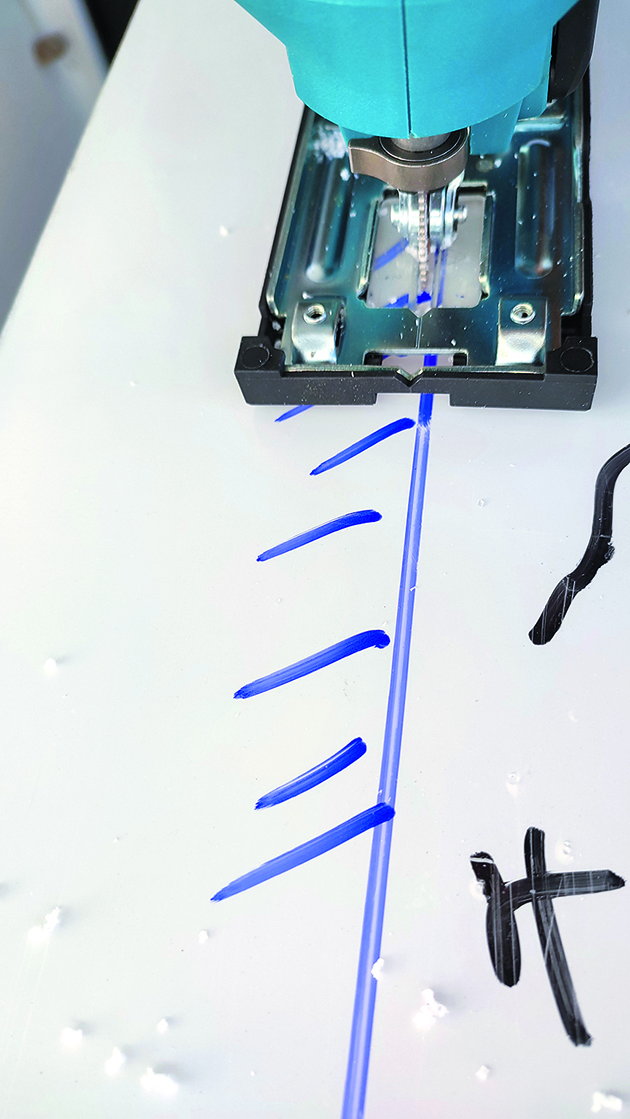
Firstly, I marked and cut out a slightly oversized version of the original with a jigsaw.
I learned that the closer I got to the line the less work the router would need to do and the cleaner the eventual finish.
I used specialist blades designed for cutting PVC and plastics, and set the jigsaw to oscillate with no forward swing.
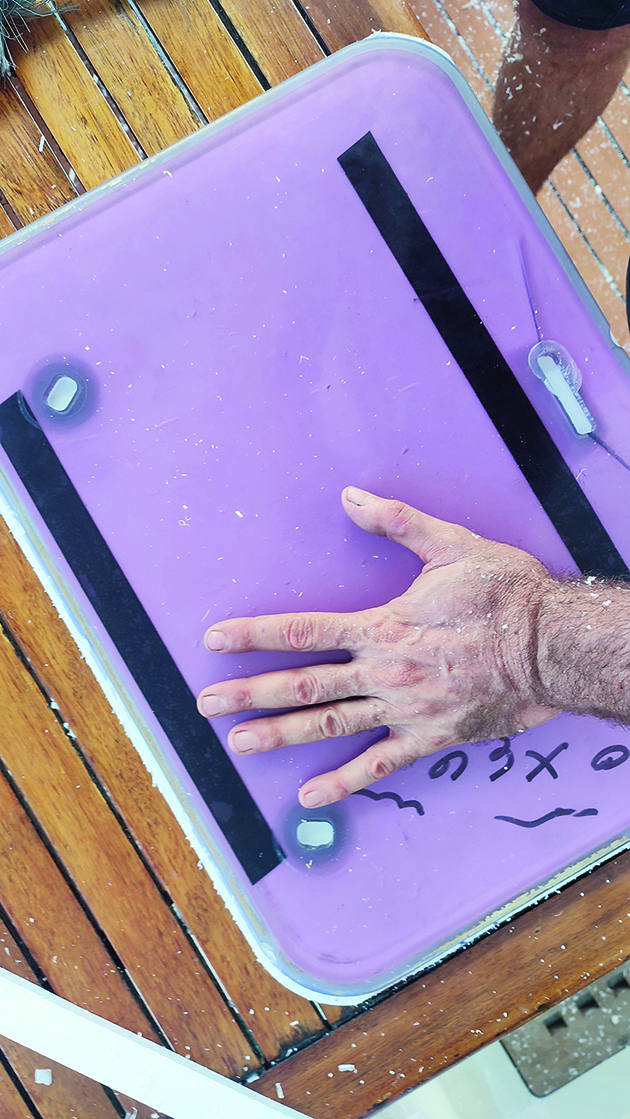
Then I stuck the original lens to my cut-out using double-sided tape.
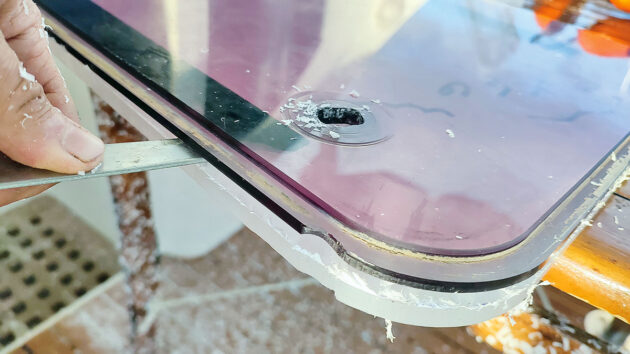
Gently ease apart the old hatch lens from the newly cut one. Credit: Andy Pag
I would recommend you put this close to the edge as it will be harder to separate them later if the tape is in the middle without putting a lot of force on the material. I then ran around the edge with a router tool that had a bearing on it.
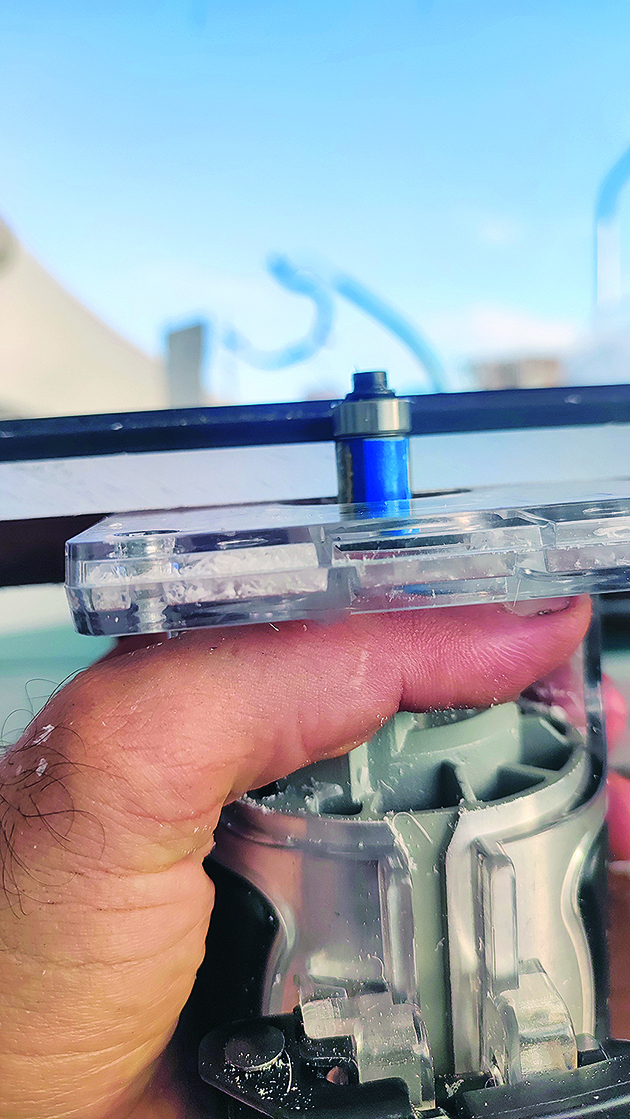
Set the cutting height so the bearing sits against your template and the accuracy of the finish is great. I bought a box of router bits but only needed to use three from the set.
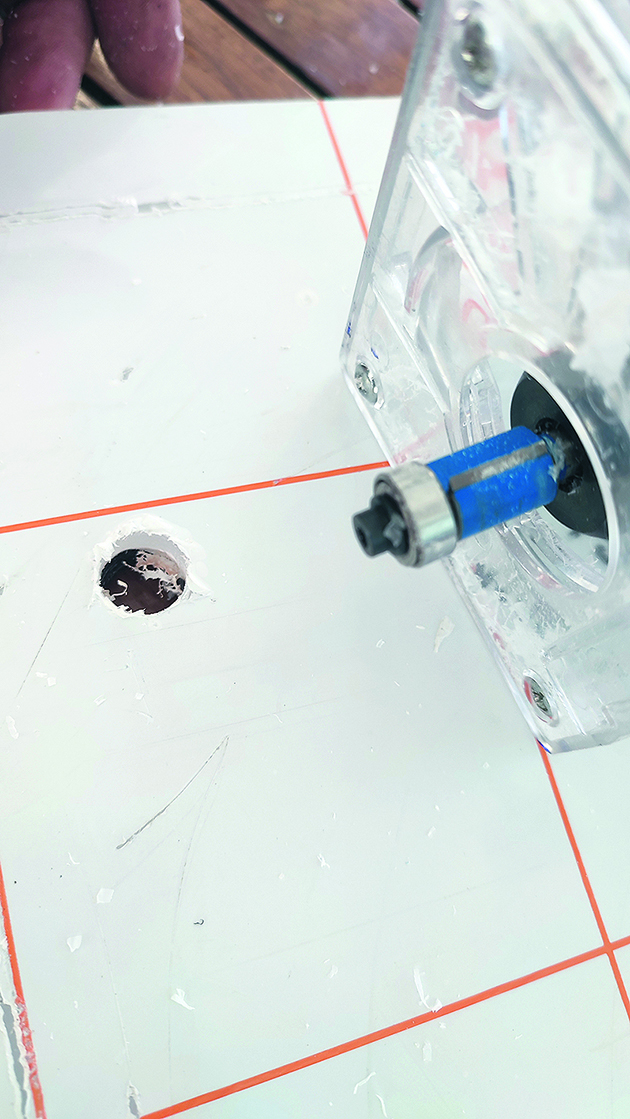
Cutting out the holes for the handles was tricky as the internal radius of the corners was smaller than the size of my bearing; this meant I couldn’t cut into the corners accurately.
A file would help here but I jigged and poked at it until I could get the handle parts to fit in snugly.
The spring damper hole was also tricky as it was too small for the bearing tool, so I clamped a straight edge offcut to the workpiece and used that as a guide with a thin router tool to cut out the slot.
The positional accuracy of the slot can be a few millimetres out here, and it won’t affect the functioning of the hinge.
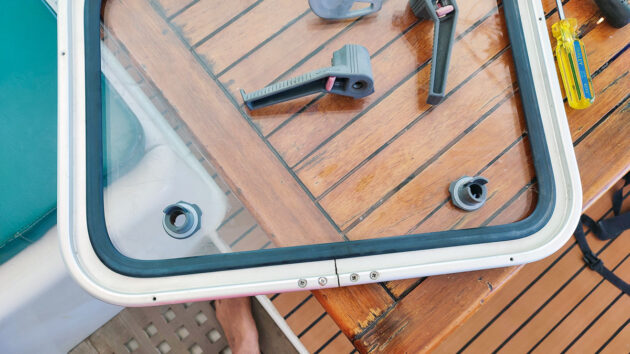
Andy reused the rubber seal to reseat the new lens in the hatch. Credit: Andy Pag
The key thing is that the hole is sized to accommodate the plastic fittings snugly.
Next, I had to do the stepped edge around the lens, which fits in the rubber seal.
Even though the sheeting I had was 1mm bigger than the original, it wouldn’t matter for fitting as it is the width of the cut lip (4.5mm) that is critical.
On a router table, it would be easy to do a really tidy job of this. With a handheld router, it’s a bit rougher but still perfectly acceptable.
I used the offcuts as test pieces to get the cut depth and the lateral guide set correctly and then went steadily around the edge, taking care to hold the tool perpendicular to the surface.
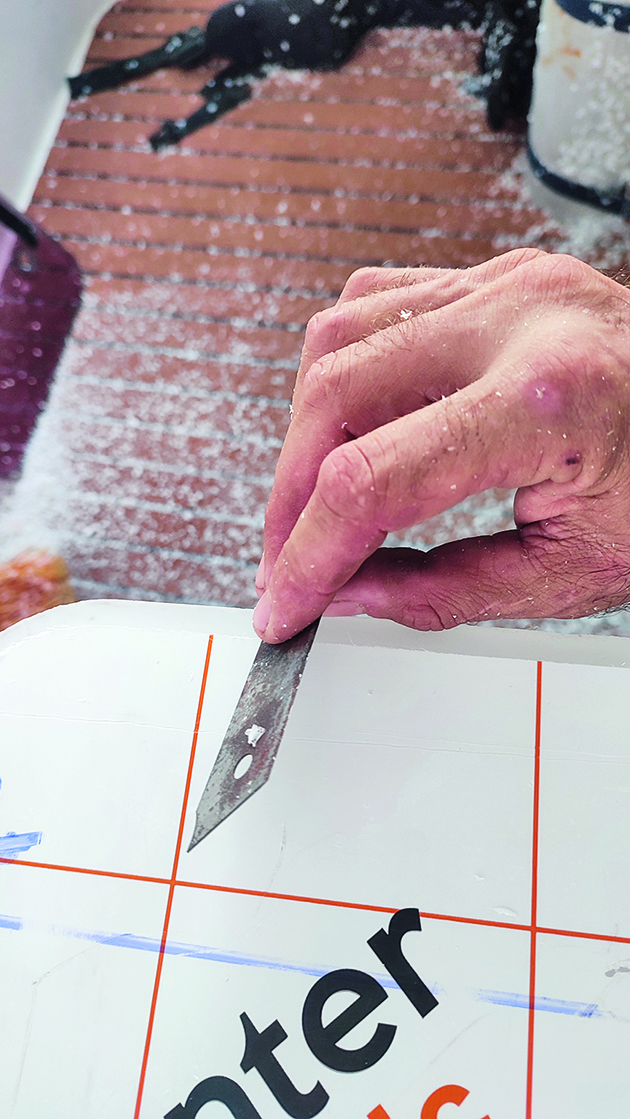
Cleaning up the burred edges with a blade and keeping the surface clear of shavings made the tool easier to manage and the final cut cleaner.
I was surprised by how easily everything fitted back together.
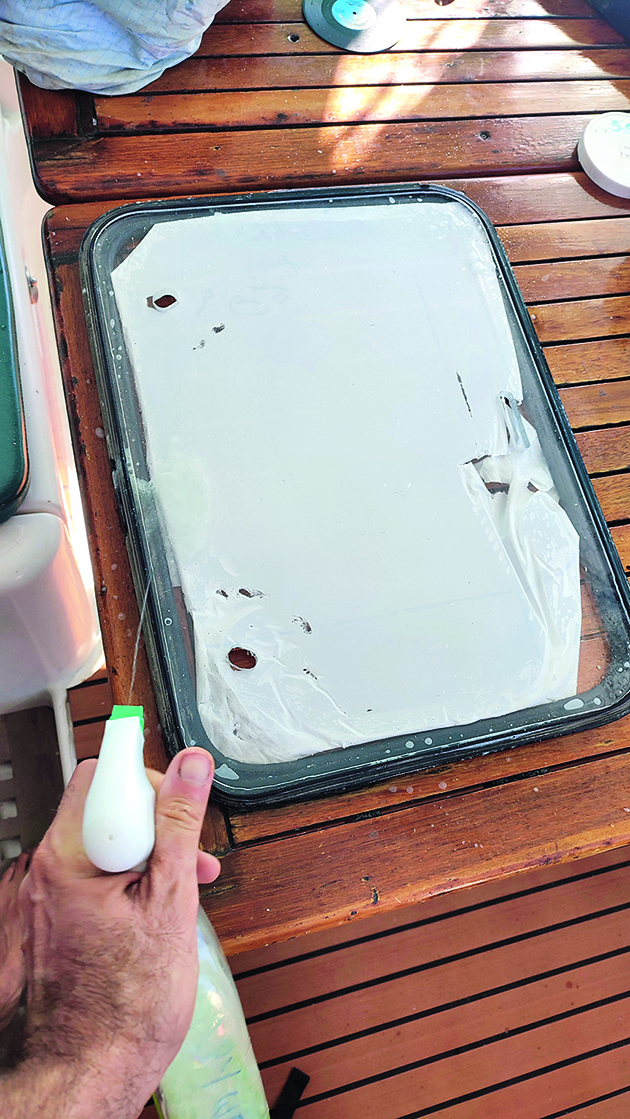
Some soapy water helped guide the brackets back on and a rubber mallet encouraged them together the final few millimetres.
For the next time this happens, I put silicone grease on the threads that hold the brackets together.
Put silicone grease on the bracket threads to make it easy to repair next time around. Credit: Andy Pag
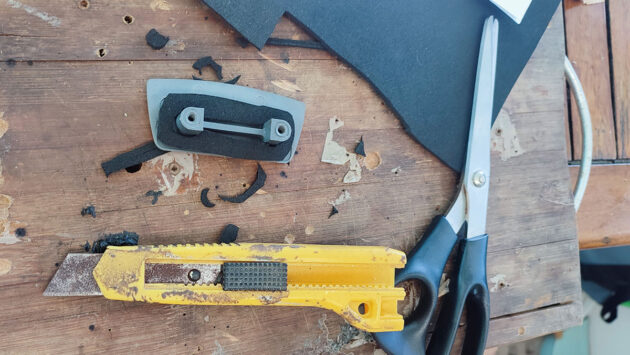
I also cut out a replacement gasket for the spring attachment from 3mm neoprene sheet.
An adjustment to the damper tensioning screw when it’s all assembled in position sets it up to hold its position.
A wash with some soapy water and a dry rag gave us a clear, waterproof view out of the saloon again.
Replacing a hatch lens: step-by-step
Credit: Andy Pag
1. Remove the original lens from the hatch by undoing the hinges and brackets.
Credit: Andy Pag
2. Roughly cut out the shape from acrylic sheeting with a fine-tooth jigsaw blade, leaving a small border.
Credit: Andy Pag
3. Stick the original lens to your workpiece with double-sided tape.
Credit: Andy Pag
4. Use a trimming tool to route around the edge of your template.
Credit: Andy Pag
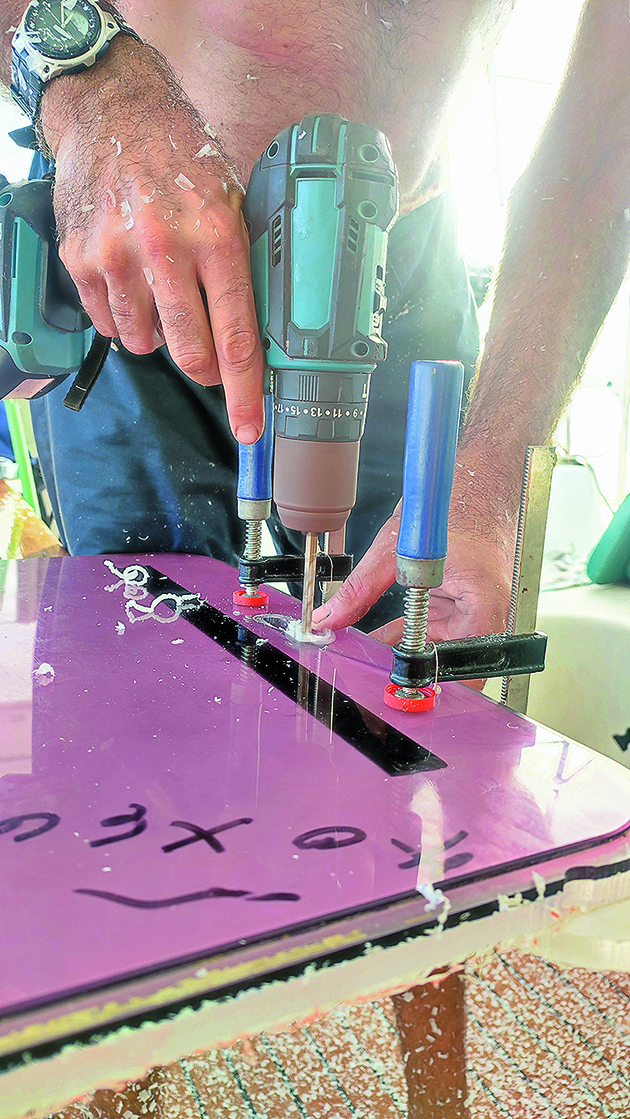
5. Drill holes for the handles and hinge spring – use an offcut clamped to the back of the workpiece to prevent shattering on the reverse side as the drill exits.
Credit: Andy Pag
6. Use a thin router tool to cut out shapes that fit the handle and spring fitting.
Credit: Andy Pag
7. With an offcut test piece, set up the router to run a stepped edge 8mm wide, leaving 4.5mm thickness of material, and then cut around the edge with it.
Credit: Andy Pag
8. Scrape a blade around the edges to de-bur.
Credit: Andy Pag
9. Use a neoprene sheet to make a gasket for the spring attachment.
Credit: Andy Pag
10. Use soapy water to help with the reassembly of the frame.
Credit: Andy Pag
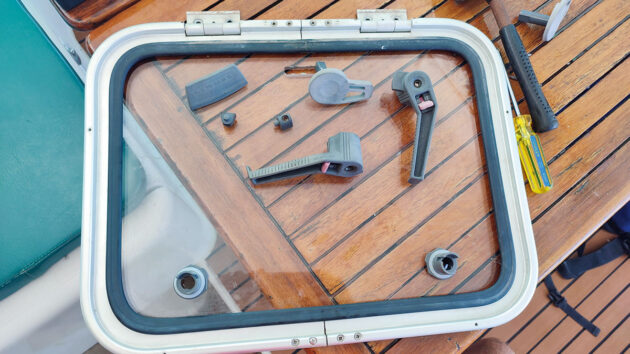
11. Reassemble the handles, making sure they’re aligned correctly and not mirrored.
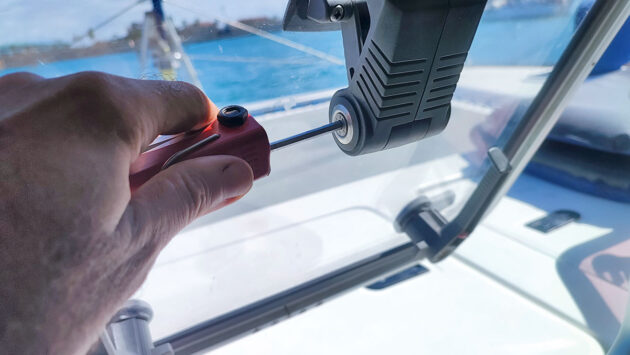
Credit: Andy Pag
12. Reattach the hatch. Adjust the spring tension so the hatch holds position. Clean with soapy water.
How to fit new rubber port light seals
David Parker describes the process involved in replacing the old rubber seals on his boat's port lights
How to install boat portholes
Phil Taylor reduces the size of the windows on his Sabre 27 by fitting portholes for offshore sailing
How to make a wind scoop for under £10
With a previous home-made wind scoop now showing its age, Ann Berry fashions an efficient replacement for less than £10
How to make duck boards for your cockpit
Using teak oddments, David Pugh shows how he made a smart set of cockpit duck boards for his boat
Want to read more practical articles like Boat hatch replacement: fixing a cracked lens?

A subscription to Practical Boat Owner magazine costs around 40% less than the cover price.
Print and digital editions are available through Magazines Direct – where you can also find the latest deals.
PBO is packed with information to help you get the most from boat ownership – whether sail or power.
-
-
-
- Take your DIY skills to the next level with trusted advice on boat maintenance and repairs
- Impartial in-depth gear reviews
- Practical cruising tips for making the most of your time afloat
-
-
Follow us on Facebook, Instagram, TikTok and Twitter


