Having accidentally drilled screws through the moulded non-slip surface of his boat’s deck, Jake Frith repairs the cracked gelcoat
Cracked gelcoat repair: step by step
Most of us own boats with at least some minor imperfections, but of those flaws, the ones that are self-inflicted are the ones I find most frustrating.
It’s just this scenario with my Swift 18, Nok.
A few years ago I was refitting the forward headlining panels following an internal wiring job and picked up two slightly longer screws from the tray.
As I refitted the panel with an impact driver I felt the screw bite into the inner moulding, the balsa deck core then to my horror felt it go right through the top moulding into the great outdoors.
I then, incredibly, repeated the same error about two minutes and two screws further on, with yet another slightly longer screw that had somehow also found its way into the tray.
Unfortunately, screwing a stainless steel self tapper through an undrilled deck does not leave a perfect hole, more a ragged exit wound where a big chunk of the diamond pattern moulded in gelcoat non-slip had flaked off, in the two places, either side of the slope down from my forehatch to the foredeck.
Now, getting diamond pattern non-slip repaired properly by an expert is expensive and often funded by insurance companies.
Successful gelcoat repair experts are highly skilled with an excellent natural eye for the near infinite colours of (often) white gel coat they work with.
Continues below…
10 Gelcoat cleaners tested
Which gelcoat cleaners are best at combating waterline yellowing on boat hulls?
Gelcoat repair: How to make an invisible repair
Everything you need to know to make an invisible gelcoat repair, from preparation and filling to topcoat and polishing
Restore and revive faded gelcoat: Three different methods to try
Few things irk me more than dirty, chalky and stained gelcoat. Like an engine that is corroded – or lines…
Gelcoat repair colour matching – the quick way
A basic colour match may not be perfect – but in most cases it’ll do the job and is much…
In the case of deck mouldings they often take a moulding off an adjacent piece of deck, and remould the damaged area, but they tend to only work on fairly new yachts, where everything is clean and often still waxy from the original manufacture.
With older boats like mine, there is a very real worry that taking a moulding of the deck from elsewhere where it is weathered and far from new, the mould could stick forever, which would be rather more unsightly than the original damage.
At the time of the damage I repaired the holes roughly, so I could continue sailing the boat without the deck core getting waterlogged and ultimately delaminating, but resolved to do a better job of it when I had more time.
I repaired several times using flowcoat, but it’s a small boat with some flex around the foredeck; when the crew were heavy footed, the repairs had a habit of cracking and popping out over time.
With this in mind, I decided to make my final, best effort repair using pigmented epoxy, as epoxy has better adhesive qualities than polyester gelcoat and flowcoat.
It’s always best to have a clear plan of action when working with composites, even for simple repairs, as timings become a factor once resins and hardeners are mixed.
Because the repairs were in a prominent position on the boat, I had a full ‘dress rehearsal’ of the materials and methods 48 hours before, in a similar ambient temperature.
The beauty of epoxy is its long working time with distinct cure stages, one of which (green cure) provides a particularly mouldable, plasticine-like consistency.
I planned to apply the epoxy, wait an amount of time (ascertained in my dress rehearsal) then simply carve by hand the reinstated diamond pattern finish.
This method worked a lot better than I expected.
From certain angles and under a few drops of spray, I could even claim it to be an ‘invisible’ gelcoat repair. This solid repair should now last the life of the boat.
Cracked gelcoat repair: step by step
Credit: Jake Frith
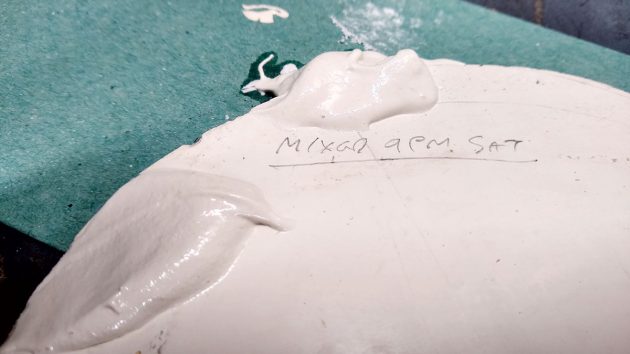
1. I’d retained a bit of deck from Nok which I’d previously cut out to fit a transom access hatch. This meant I could experiment at home with colour pigments and timings.
Credit: Jake Frith
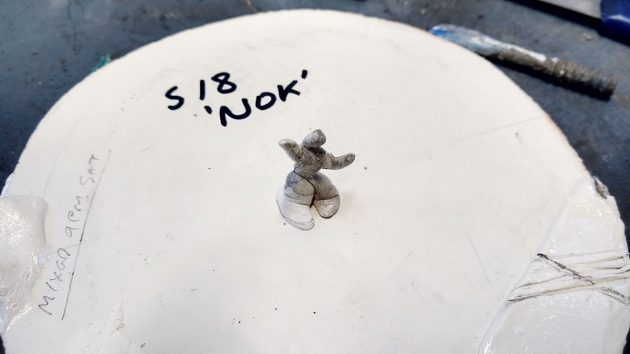
2. I found that 10 hours after mixing, the pigmented epoxy was a perfect hand moulding consistency – and that its stickiness easily absorbed dirt so gloves and clean implements were required.
Credit: Jake Frith
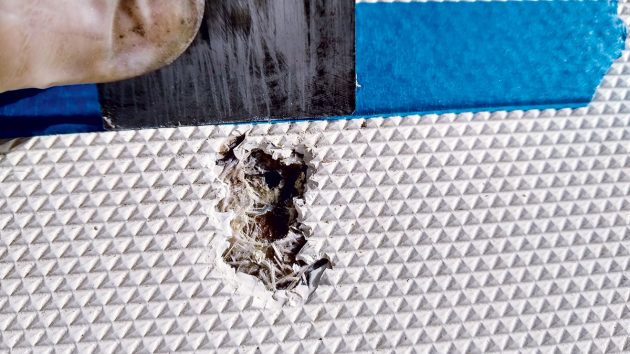
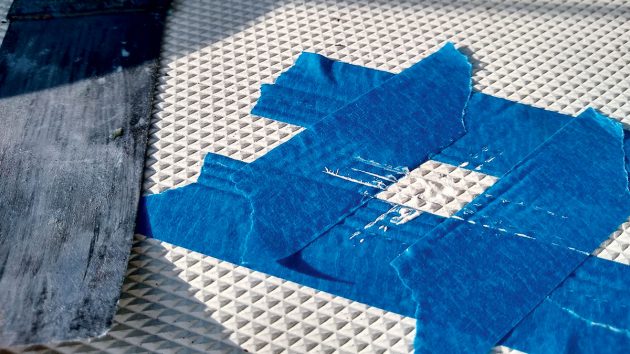
3. Having chiselled out some final loose flakes, I constrained the repair area with masking tape, ensuring that the edges were well pushed down into the grooves.
Credit: Jake Frith
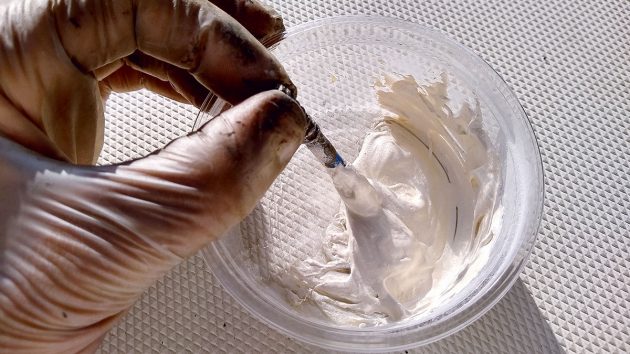
4. I combined my pre-tested mix of Blue Gee pigment, West System High Density filler and West System Epoxy in the same proportions as before.
Credit: Jake Frith
5. Even when fresh, the mix held a quite reasonable approximation to the surrounding deck finish when moulded with a thin scraper.
Credit: Jake Frith
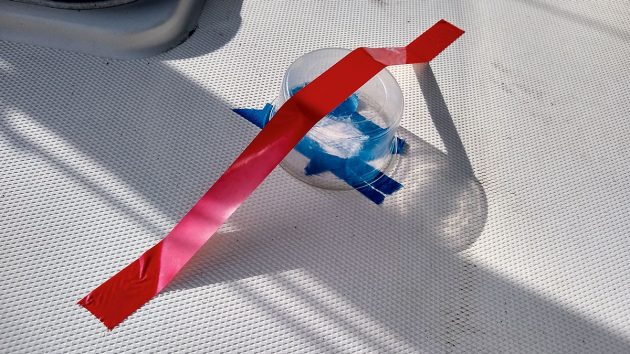
6. I protected my fresh and sticky repairs from insects and dust by taping a clean, empty plastic pot over the top.
Credit: Jake Frith
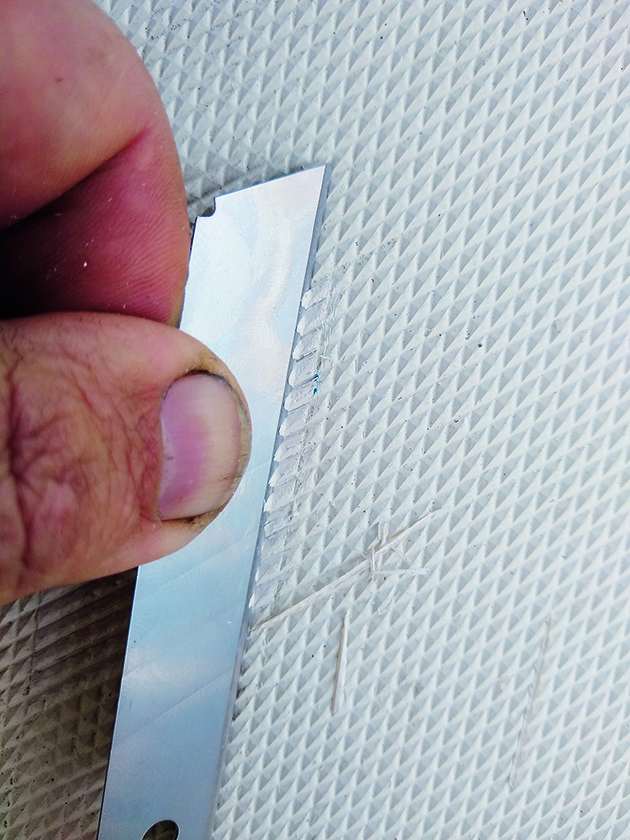
7. Ten hours later and the repairs were at the ‘green cure’ stage and nicely carvable with a sharp blade
Credit: Jake Frith
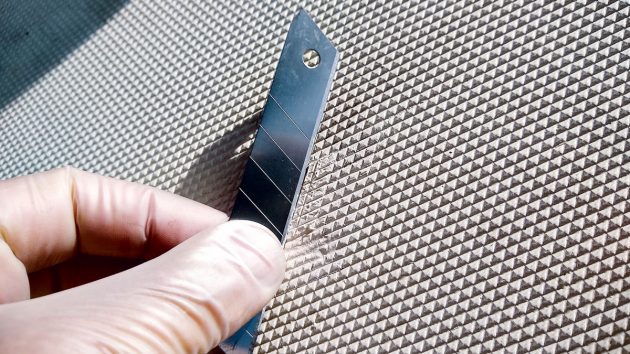
8. The knife treatment actually left the repairs a little sharper looking than I’d like…
Credit: Jake Frith
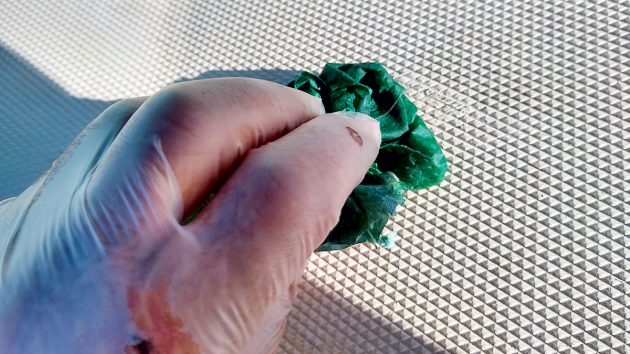
9… so gentle dabbing with a thinners-soaked rag melted them down into a more suitable pattern.
Credit: Jake Frith
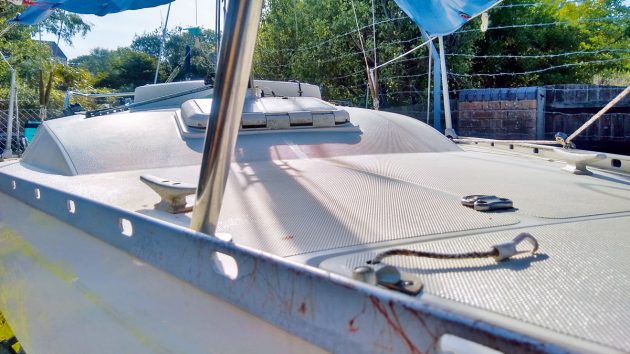
10. The finished repairs, located below and a few inches from the port and starboard corners of the forehatch – once viewed from the usual distance – are acceptable enough to not draw the eye.
Enjoyed reading this article? 
A subscription to Practical Boat Owner magazine costs around 40% less than the cover price.
Print and digital editions are available through Magazines Direct – where you can also find the latest deals.
PBO is packed with information to help you get the most from boat ownership – whether sail or power.
-
-
-
- Take your DIY skills to the next level with trusted advice on boat maintenance and repairs
- Impartial in-depth gear reviews
- Practical cruising tips for making the most of your time afloat
-
-
Follow us on Facebook, Instagram, TikTok and Twitter


