Maintenance of your rigging can save expensive failures and could be a lifesaver - here's how to check your boat's rig
The first time most people realise something is wrong with their rig is when something breaks,’ says Dennis Fisher of Advanced Rigging.
Keeping your rigging in good condition can be a lifesaver, but it can be hard to know when to replace the standing rigging, and to know what you should be looking for before you start the season to ensure your rig stays up throughout the year.
‘Think of a rig as a coat hanger,’ says Dennis. ‘You can repeatedly bend a coat hanger vigorously and it’ll break quickly, or you can work it slowly for a long time – but it will still break. Standing rigging is the same. Even if your boat has been hardly used for 10 years, it will still have the potential for something to break when you least expect it.’
Insurance companies generally recommend that you replace your standing rigging after 10 years – and most riggers agree that this is a reasonable life expectancy. ‘It’s impossible to tell exactly how long rigging will last,’ says Dennis, ‘but there’s a lot you can do to ensure you spot any problems early enough.’
So what preventative maintenance should you carry out to ensure your rig will last as long as possible?
Walk the deck
‘The first area we check is the gooseneck,’ says Dennis. Check that any fittings are securely riveted on and have no movement. Gooseneck pins shouldn’t be bent, and toggles should only move as they’re supposed to move. Pack them with washers – nylon ones are cheap, and effective at packing out gaps – to stop any vertical movement.

Check the boom’s fittings, especially the kicker attachment, for movement. Ensure that any riveted fittings of dissimilar metals use a jointing paste like Duralac to keep them separate. ‘We often see fittings that look fine from the top, but when we take them off the mast wall underneath looks like the surface of the moon,’ says Dennis.

Check the mast foot for corrosion, movement and cracks. ‘This takes the biggest compression loads of the whole rig,’ Dennis advises, so it’s important it is secure. Also, check the T-bar that the mast sits on for any damage, and replace if necessary.

Your roller-furling gear should be easy to use: if it’s difficult, inspect and service the drum. It has been known for the rotation load on a stuck drum to unwind a compression terminal, which could lead to the loss of a rig. Flush it with a hose to free it from salt, then keep it moving with a dry silicone lubricant.

Sheaves should turn – and if they stop turning, they will begin to wear, which means they’ll never move again. Free and lubricate any stuck sheaves: a kettle-full of hot water is ideal for this. If in doubt, drive out their retaining pins and check all the bearing surfaces.

U-bolts and shackles can wear on each other, leading to damage and potential failure – so check regularly. It’s also worth tightening up shackle pins and mousing them with a plastic cable tie or monel wire to keep them secure.

SSB backstay insulators are plastic and degrade in UV light, so it’s worth replacing them in line with the manufacturer’s instructions. ‘There’s no way of knowing when they will fail,’ says Dennis, ‘so all you can do is follow the instructions.’
TOP TIP
If you’ve found any black water stains (aluminium oxide and water) on deck, that’s a sign that something is wearing or moving that shouldn’t be – time to investigate!
Checks to do up the rig, or when the mast is down
Bottlescrews should be able to move and should be free from cracks and discolouration. Never force a bottlescrew as you run the risk of stripping the thread. Instead, leave some penetrating oil to seep in first.

Check the mast wall for cracking or deformation around T-terminals and other fittings. A crack will show that something is bearing where it shouldn’t.

Check that any rigging wires are in column throughout their length, especially where they enter an end fitting. If there’s a bend or the wire doesn’t line up with the end fitting – as can be seen here – you may have a problem. Swaged end fittings are particularly prone to breaking – ‘the wire tends to go just inside the fitting, where the rig’s movement chafes it against the harder end fitting’, says Dennis. With the mast down, flex and bend the end fitting, checking for broken strands and any movement.

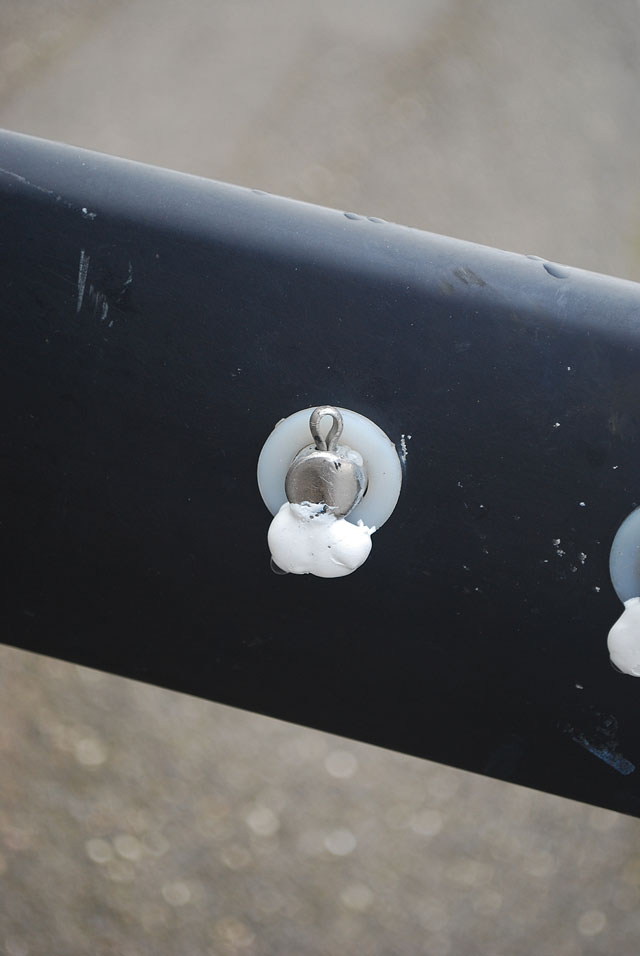
Check split pins are in place. The pros use a blob of silicone instead of tape over the bent ends to cover the sharp edges. Tape can create a mini greenhouse effect which can become an ideal environment for encouraging corrosion.

Spreaders: Check for cracking, corrosion or any movement. If a running backstay or spare forestay has been rubbing along the spreader, check it hasn’t worn through the casting. ‘These can cut through into the hollow spar,’ says Dennis, ‘and damage them, so check carefully.’

Rod rigging: The rigging is designed to move within its end fittings, collars and backing plates –
and these need lubricating to ensure they can move freely.

Electrics
A loose electrical connection can set up a nasty bit of galvanic corrosion, with masts literally being eaten away – so check all contacts and wires to make sure they’re not leaching current. This one fell victim to this and has been dismantled so it can be patched up.
Regular checks
These checks should ensure that you spot any problems before they develop into anything more serious. Regular checks and preventative boat maintenance are the key – but if there’s anything that you’re unsure about, head for your nearest professional rigger and ask their advice.


