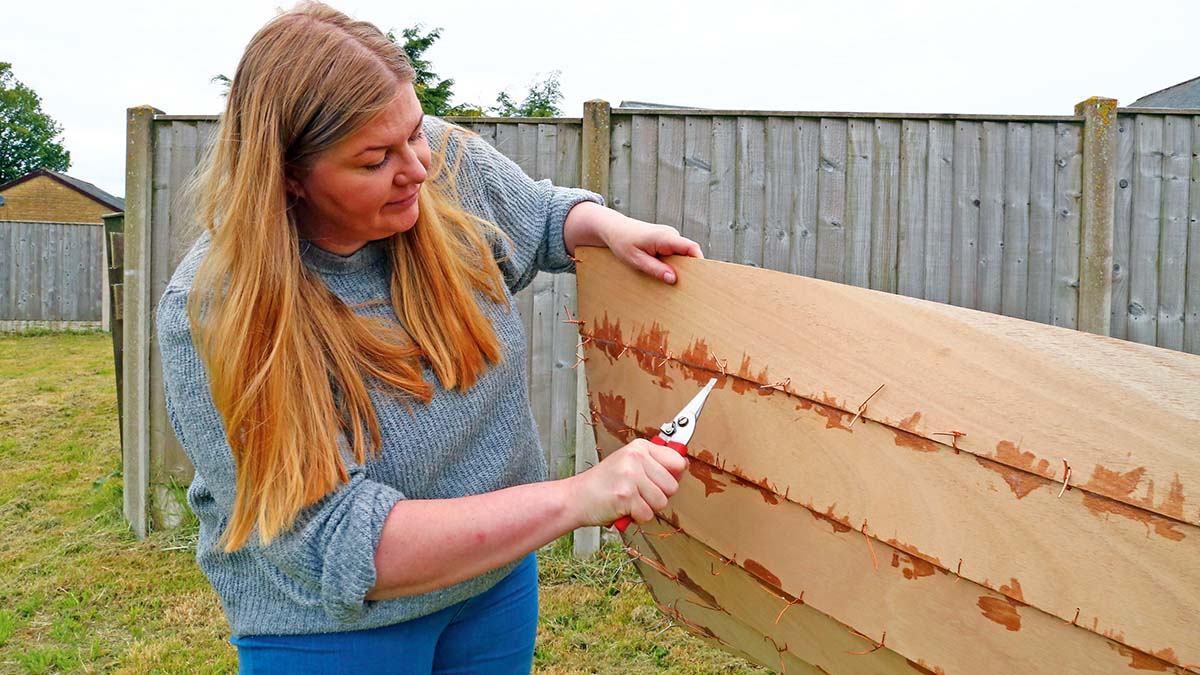
Using teak oddments, David Pugh shows how he made a smart set of cockpit duck boards for his boat
The traditional solution of a teak grating is attractive but fiddly and time-consuming to make, and the grating would be unsupported over the sump.
We’d need to add extra support or thicker timber, adding both cost and weight.
Another idea we considered was to use fibreglass grating similar to that found on some marina pontoons and on factory gantry walkways.
A light teak framing around the edge would, we thought, finish off any ragged ends and provide a sturdy, low-maintenance solution.
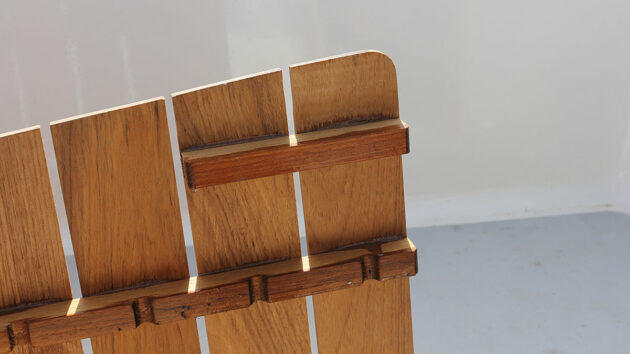
The boards would tip at the forward end, so I added a couple of small supports at the outer edges
This idea foundered on our inability to find a small enough quantity of grating, and the discovery that it’s actually extremely heavy.
The third idea, and the one we finally chose, was to make duck boards.
These are fairly straightforward to construct, and with careful design could be made strong enough to bridge the sump and the lid of a hatch (not yet installed but planned to allow access to the propshaft coupling of an inboard engine).
Duck board design
The cockpit floor has a hard life, so anything used in this area needs to be rugged and durable.
We decided that the best option was to choose an oily hardwood that would not need finishing, hence keeping maintenance low.
That really means teak or iroko: the latter is cheaper but can be tricky to work with owing to its wild grain.
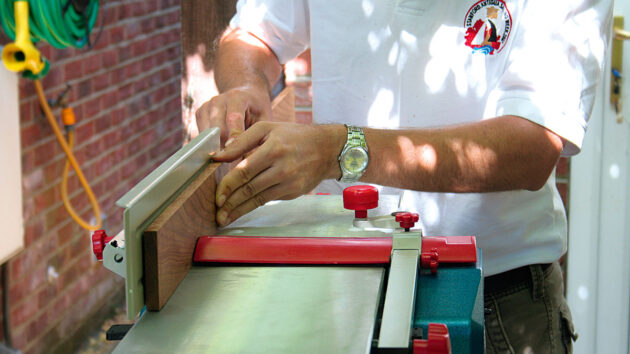
Trimming the wood to size: I calculated that the most efficient use of timber we had was to have 18 boards, with a 6mm gap between them. That meant each board needed to be a shade under 72mm wide. To achieve this I planed a square edge…
Teak is much easier to handle with straight grain, and the clincher for us was that we could partly offset the cost by buying oddments from our local supplier, which had some teak stock sized at approximately 75mm x 10mm which looked about right, so we bought enough to complete the floor, together with some 20mm x 17mm battens as supports.
We were fortunate in that we already had an accurate hardboard template of the cockpit floor – I’d made it in error as part of the mould for the glassfibre sole, putting the smooth face on the wrong side!
It wasn’t completely marked up with the positions of the sump and hatch, but with the aid of the photos we took of the moulding process.
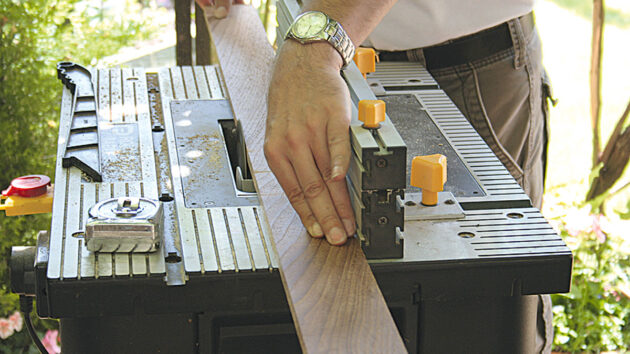
… before trimming them just over-width with a table saw. I used a thicknesser to take off the final width and leave a clean edge
I was able to replicate the measurements without having to row out to the mooring with a tape measure and notebook.
My initial plan was to run bearers along the outer edges of the duck boards, but an experiment on the workshop floor with the bearers at the correct spacing and bridged with timber showed the floor would be far too bendy and springy in the middle, compromising strength.
To compensate, I decided to make the bearers parallel, spaced at the width of the narrow end of the cockpit floor, which the template showed would just clear the hatch lid and would bridge the sump.
Adding a half-depth strip under the grating down the centreline would spread any loads over several boards, stiffening the entire structure, while small supports at the outer edges would also prevent tipping.
Making the duck boards step-by-step

1. To check my calculations, I marked up the position of each board on the template by working down it with a pair of sized boards, setting
the gap with 6mm plywood spacers.

2. I was making the boards in two sections, mainly owing to the lengths of teak available. With the bottom supports trimmed to length, I clamped them together and drilled down the centre with a flat bit to provide half-round drainage channels under each board.

3. We didn’t have much spare timber, so when trimming the boards to length I cut them at approximately the correct angle to minimise waste. I then radiused the long edges with a router.

4. I decided to epoxy the supports to the duck boards, clamping them with screws capped with teak plugs. Screwing from the bottom would have been easier, but from the top gave more timber for the screws to thread. Using a double-pin mortise gauge and a square I marked up the screw holes on the bottom of the board…

5. … drilling through with a 2.5mm bit before reversing the board and counterboring for the plugs. At this point, I also cut the plugs from an offcut of the same material.

6. To mark up the bearers I assembled the boards dry on top of the template on a fl at floor, then marked through each hole with a bradawl.

7. I used the marks on the outer bearers to transfer the hole spacing to the centre load-spreading strip, before pilot drilling all the holes.

8. I wiped each area to be glued with acetone to remove the oil from the teak, and partially threaded the screws into their holes…

9…before applying a runny mix of resin and microfibres to each joint and clamping it firmly with the screws.

10. I then fitted a teak plug to each hole and waited 24 hours for the epoxy to set.

11. Once set, I trimmed the plugs flush with a block plane and sandpaper…

12. … then lay the template on top of the duck boards to mark the board ends for trimming.

13. Finally, I trimmed the ends with a jigsaw and used the router to radius the board ends.
How to make your own cockpit grate: step by step
Zoran Glozinic saves some cash by making a new cockpit grate for his yacht using redundant old wooden kitchen shelves
Boat wood: a complete guide for yacht owners
Boatbuilder and finisher Lyndon March explains which types of wood work best for different repairs and modifications on board
How to build a boat: Essential guide to building your first kit boat
You don’t have to be a boatbuilder to learn how to build a boat, argue Roger Nadin and Polly Robinson.…
How to remove mouldy stains from interior woodwork – Ask the experts
Kevin Woods from Dublin writes: “I have a 1991 Feeling 286 Special. Some of its timber interior is stained by…
Want to read more practical articles like How to make duck boards for your cockpit?
A subscription to Practical Boat Owner magazine costs around 40% less than the cover price.
Print and digital editions are available through Magazines Direct – where you can also find the latest deals.
PBO is packed with information to help you get the most from boat ownership – whether sail or power.
-
-
-
- Take your DIY skills to the next level with trusted advice on boat maintenance and repairs
- Impartial in-depth gear reviews
- Practical cruising tips for making the most of your time afloat
-
-
Follow us on Facebook, Instagram, TikTok and Twitter


