James Brooking bought a second-hand Lofrans Royal windlass but it was completely seized – so he brought it back to life in his workshop at home
Part of PBO’s DIY from Home series: browse all related ‘in the workshop’ articles here
I don’t object to the luxury of an electric windlass on principle, but it didn’t take much to put me off buying one.
I have an anchor locker at the bow with a hatch in the foredeck, but it is not sufficiently deep or dry enough to house a motor. Also, I don’t anchor very often – lunch breaks or the odd spot of fishing mostly. So the extra cost and the prospect of a major reworking of the foredeck and forecabin put me off an electric windlass.
But to my surprise I found manual windlass options to be quite thin on the ground. The Lofrans Royal windlass was the only suitable manual model I found, but a new one was still expensive.
So I looked for a used model and found one on ebay described as: ‘OK condition. Been used regularly but could do with greasing as a bit stiff. No handle included.’
I won the bidding (£190 including carriage) and it arrived a few days later, but it was more than ‘a bit stiff’. I could not move it at all. The only answer was a complete dismantling and overhaul.
How a manual windlass works

The handle of a manual windlass rocks or cranks the (so called) emergency wheel and the gears inside the windlass turn the gypsy, hauling in the chain
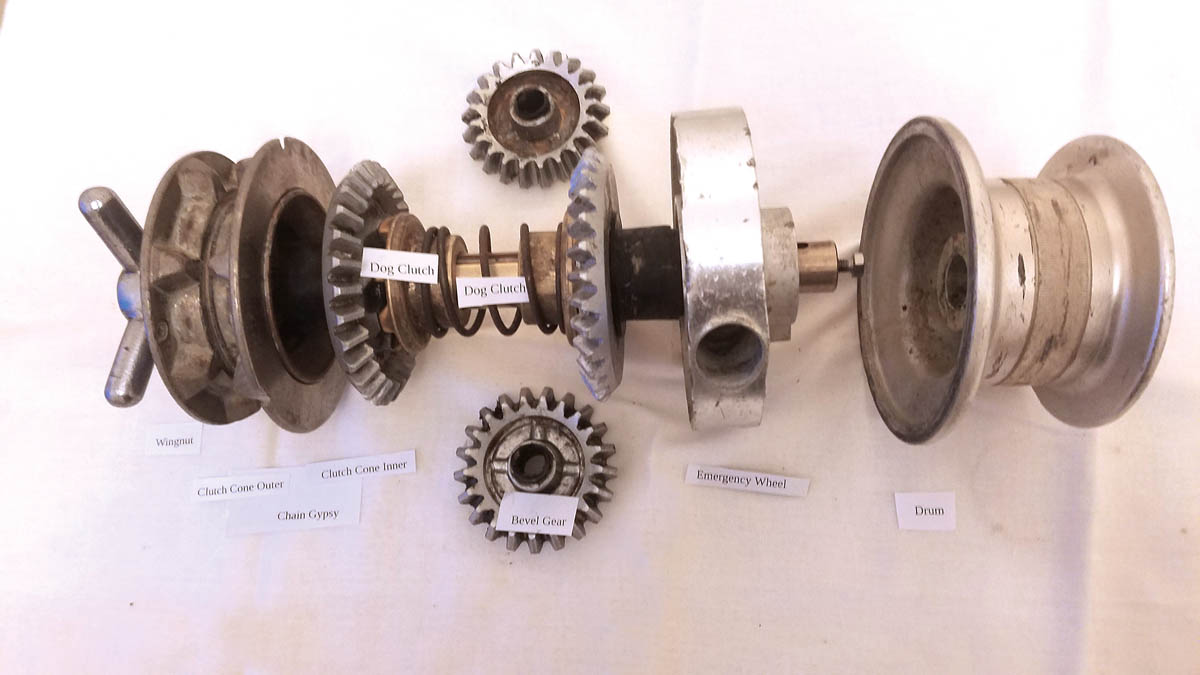
The chain gypsy is mounted on one end of the mainshaft which runs the full length of the windlass. It is controlled by two cone clutches, which are clamped or released by tightening or loosening a large wingnut on one end.
To lower the chain, the wingnut is unscrewed (either by hand or using the windlass handle) slackening the cone clutches to allow the gypsy to spin. To stop lowering, the wingnut is tightened.
To raise the chain, the handle is transferred to the socket in the so called ‘emergency wheel’ located in between the drum and the casing. The handle rocks or cranks the emergency wheel and the gears inside the windlass turn the gypsy, hauling in the chain.
Dismantling
The wingnut was completely solid and couldn’t be moved. Drastic action was required. I heated the wingnut with a blowtorch and cleaned the exposed thread. I firmly secured the entire unit to a bench and started to tap the wingnut with a soft hammer. At last it moved a couple of turns and after spraying with releasing fluid, tightening, releasing and reheating, I got the wingnut off.
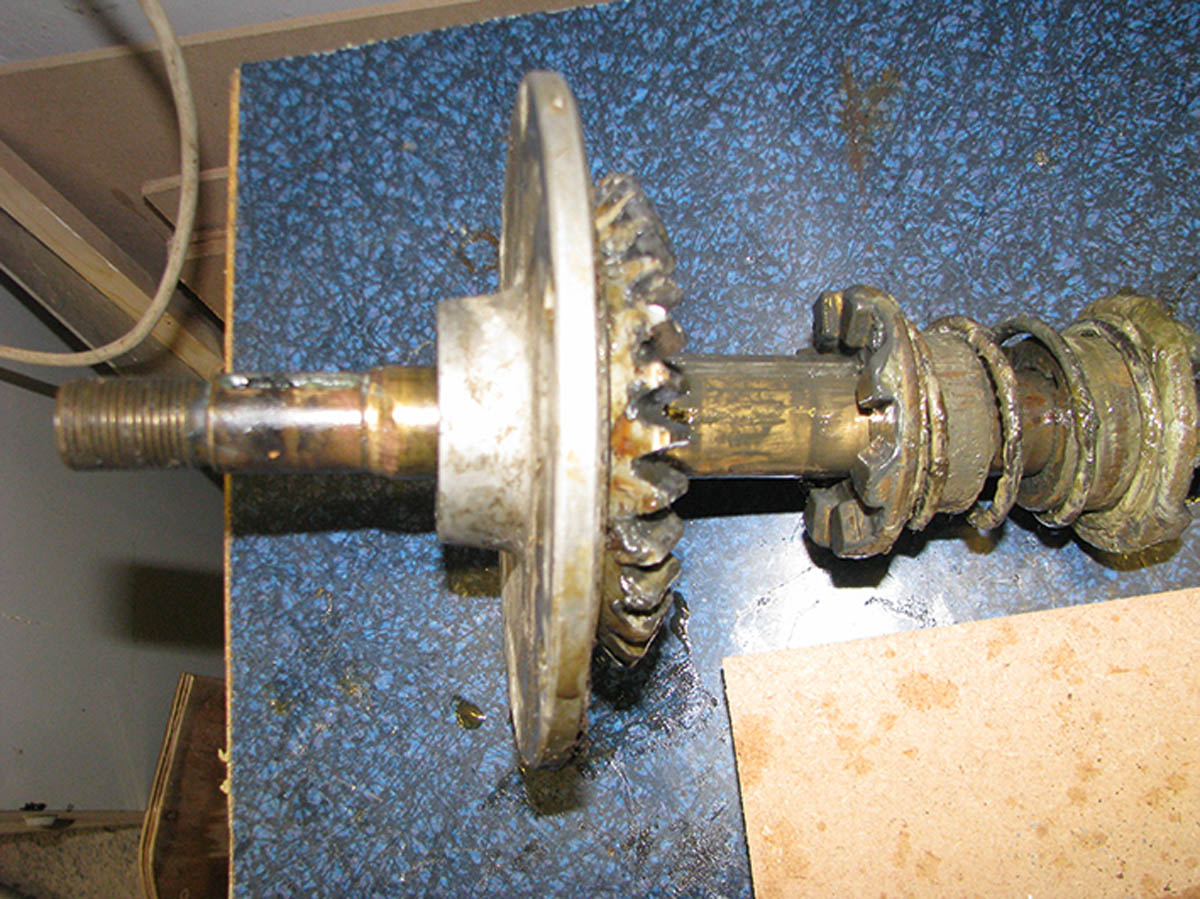
I then removed the chain stripper (this feeds the chain off the gypsy down the hawse pipe), the outer cone and the gypsy. The inner clutch cone would not move and a puller and the blowtorch was needed again before it was withdrawn from the shaft.
From there, the casing cover was now accessible, secured with six countersunk Allen socket screws. I got three of them free by warming the casing around them with a blowtorch and using a good quality Allen key, but the other three would not move. Eventually the key socket became rounded and defied all normal attempts. So I resorted to using a centre punch to strike the screws until they started to undo.
But even with the screws out, the cover wouldn’t budge, so I turned my attention to the opposite end.
The drum is keyed to the mainshaft and secured with a 5mm screw. I removed the drum with a puller after prewarming.
I managed to fix a puller under the emergency wheel, which, when tightened, started to move the mainshaft. I removed the large Allen screws holding the smaller bevel gears and as the mainshaft moved through the casing, it took the cover off at the same time.
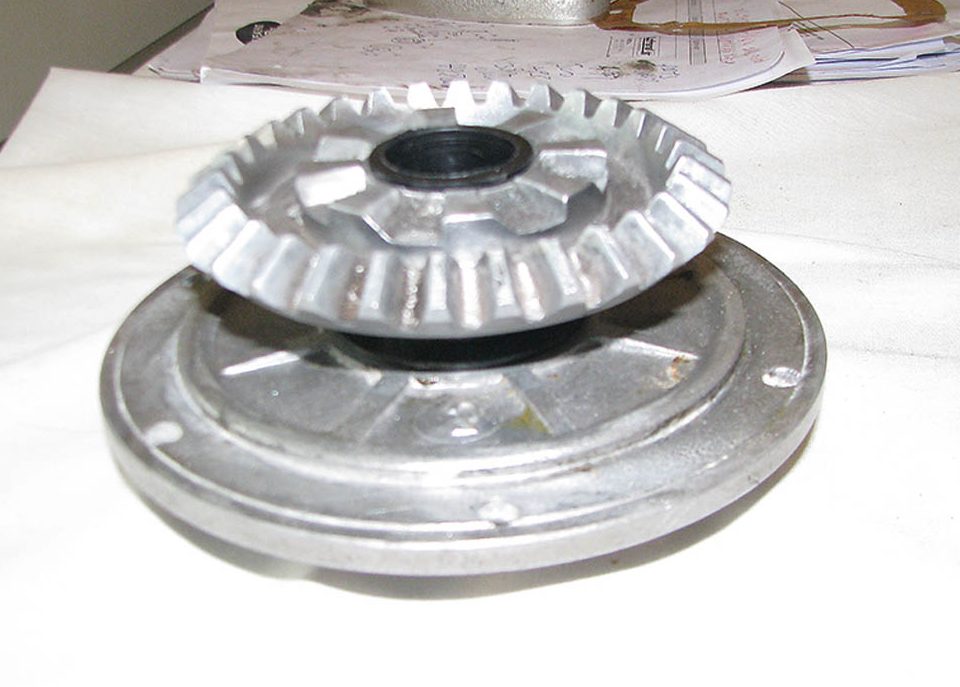
The mainshaft was then tapped out of the cover along with the large bevel gear. This left the lead bevel gear and the emergency wheel seized to a shaft through the side of the case.
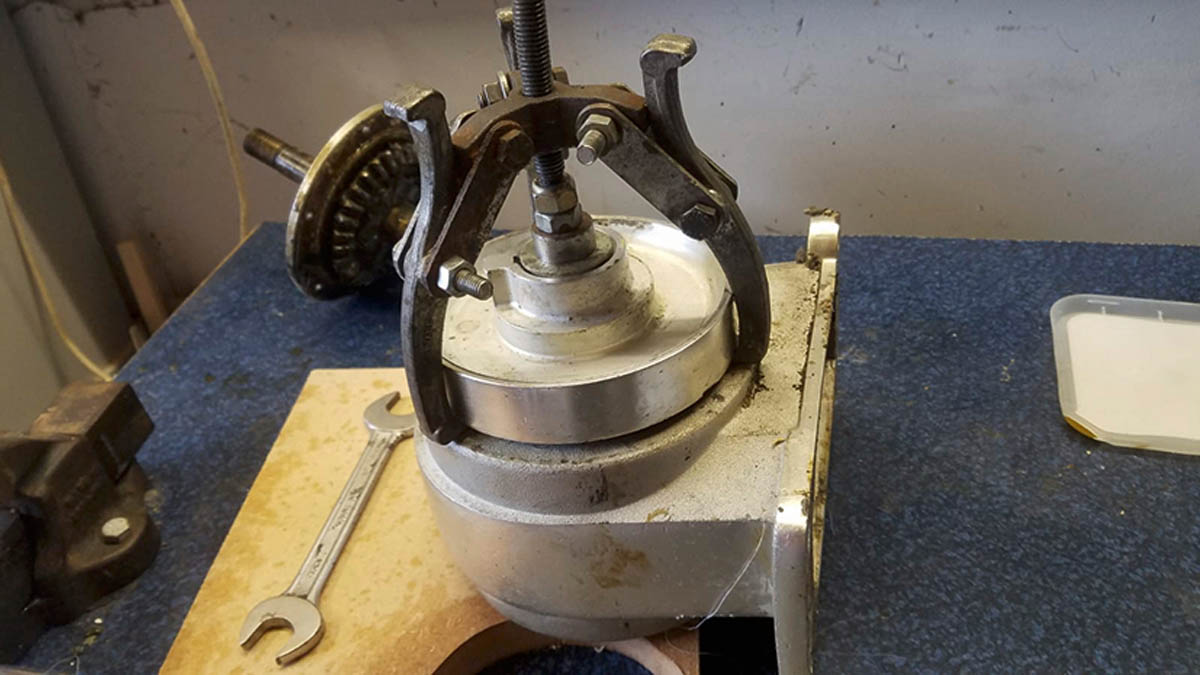
So the puller was re-fixed on the emergency wheel and a plug inserted on the bevel gear shaft for the puller to work against. The emergency wheel was heated with a blowtorch and the puller tightened as much as possible. The wheel was allowed to cool with some penetrating fluid poured down the keyway.
After several attempts there was a loud ‘crack’ and initially I thought the emergency wheel had fractured, but after removing the puller I could see the wheel had moved a fraction.
I repeated the process until gradually the wheel was withdrawn from the bevel gear shaft. With the wheel removed the circlip could be seen and removed (this prevents the wheel being pressed off the bevel gear shaft) and then the bevel gear was withdrawn from the casing with gentle tapping.
Refurbishment
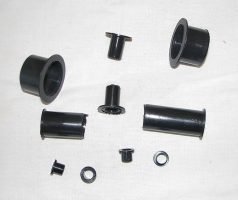
I examined all the components and the only parts that needed replacing were the nylon bushes, the circlips and the casing cover Allen screws.
I requested the replacement bushes from AR Peachment, which sells a maintenance kit for the Royal windlass. But note that the kit doesn’t include replacement bushes and the part numbering system in the manual found online is different to that used by AR Peachment, so I had to describe each part that I wanted.
I made a new handle from a 600mm length of 22mm OD stainless steel tube with a handle bar grip.
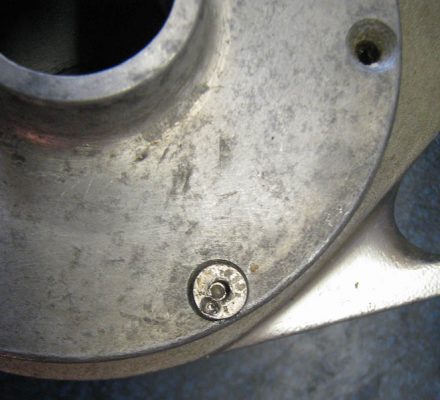
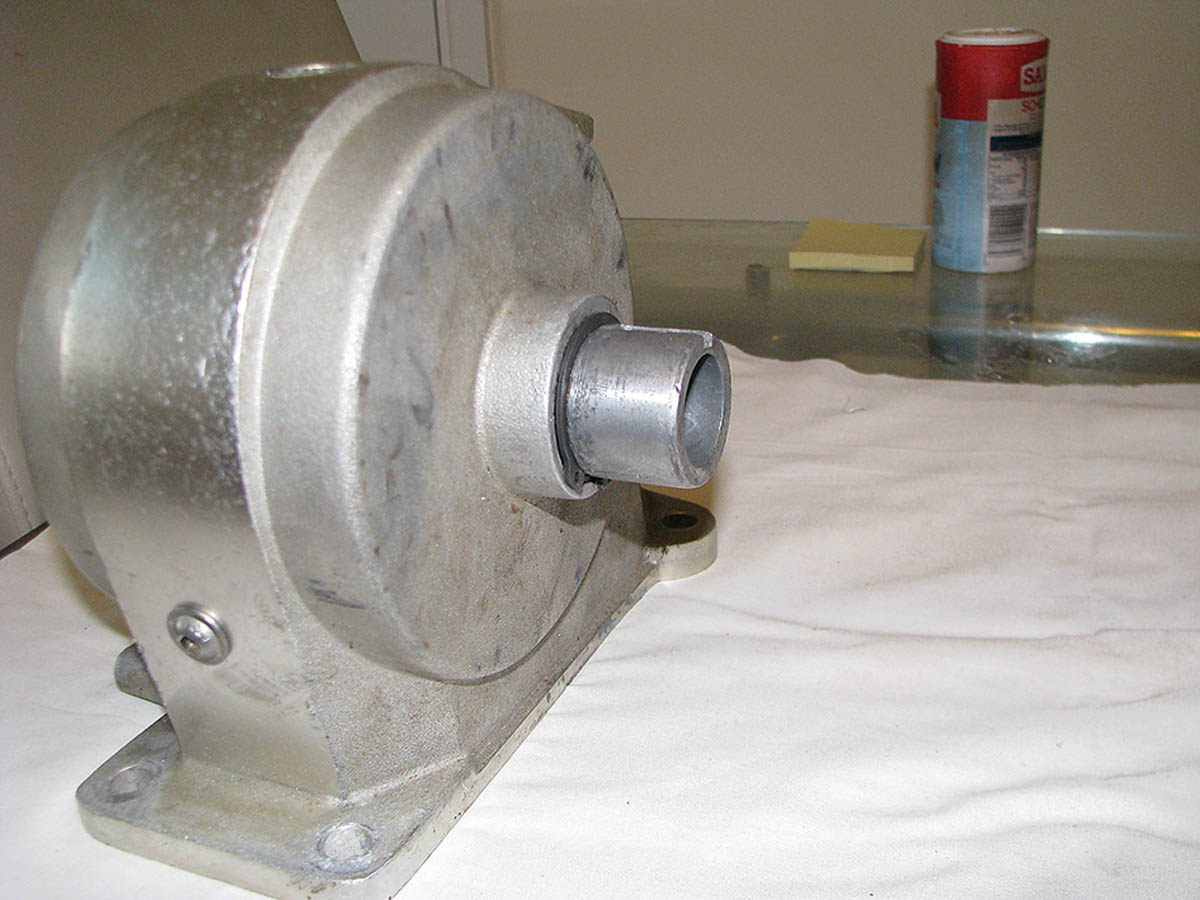
While nylon bushes do not need lubrication, the internal gears do, yet there was no filler hole for the gear oil, so I decided to make one. I drilled and tapped an 8mm hole so a screw could be used as a simple plug. The hole was made below the centreline of the mainshaft as oil will be carried around the internal components when in use (it’s the same principle as a car differential).
Reassembly
After thoroughly cleaning all parts I pushed new bushes into the gears, the case and the case cover. I fitted the lead bevel gear into the casing and the circlip fitted into its groove on the bevel gear shaft. I fitted the key into its groove and the emergency wheel slid on with a light tap from a rubber mallet.
The second bevel gear was fitted to the cover and the small bevel gears were fitted to the case secured on their Allen screws.
The dog clutches and spring were fitted onto the main shaft together with a washer that is fitted between the clutches. I carefully checked that the clutches were the right way round and slid freely and that the key was fitted in the main shaft.
The mainshaft was inserted into the case and through the bevel gear then the cover was pressed into place (there’s resistance because of the spring between the dog clutches) and attached with the six Allen screws.
The chain gypsy inner cone clutch was fitted, making sure to slide it over the key in the mainshaft, then the gypsy was fitted with the outer cone clutch and held in place with the wing nut.
I refitted the chain stripper and, at the other end, aligned the rope drum with its key and tapped it onto the shaft, before securing it with a washer and bolt.
I poured around 125cc of gear oil into the case through the new filler hole and then plugged it with a screw. I rotated the whole windlass to spread the oil over the gears, before clamping it to a bench to test the new handle and it all worked smoothly.
With purchase of oil, screws, bushes and handle, the cost of parts and postage was approximately £30.


