Do you have a foggy view? Don’t throw away your expensive sprayhood or awning – you can replace the windows for just a few pounds, says Jake Kavanagh
How to replace your sprayhood windows
The transparent acrylic windows in your sprayhood or awning suffer much more from the effects of ultraviolet degradation and the ravages of the marine environment than the surrounding canvas material. But the good news is that these windows can usually be replaced up to three times before the canvas itself wears out.
Changing the windows saves many hundreds of pounds over the cost of a new awning, so boat owners often choose this route when their sprayhood windows become fogged or split.
The replacement itself is fairly straightforward – but, says Alan Dring, an expert in marine upholstery who regularly replaces sprayhood windows, the big secret is to leave the old window in place until the new one is fitted, ‘I urge customers not to rip the old window out, even if it has a big hole in it. The window will keep the canvas in shape, and make the replacement process much easier.’
In a previous article Alan showed us how to do some basic repairs to a cockpit cover from the Westerly Duo 29, Fidget, belonging to Doug and Jennifer Anderson. These included freeing jammed zips and poppers, and repairing tears in the fabric. In this article he tackles the three large windows, which were becoming opaque and splitting away at the corners.
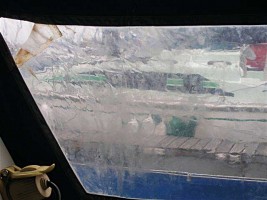
Before: Typical long-term damage to a plastic window in Fidget’s cockpit cover, with fogging and tears

After: A brand new sprayhood window will give several seasons of use, as well as adding to safety and ambience within the cockpit. And it’s much cheaper than having a whole new cover made
Do your sprayhood windows really need replacing?
With the cover spread out on Alan’s workbench, it’s possible to take a closer look at the detail. The cover is turned inside out, as nearly all repair work is done from the inside.
Lightly scratched or fogged windows can often be restored with an abrasive compound designed for polishing clear plastic. There are several on the market from suppliers such as Renovo, 3M and Starbrite. A lamb’s wool mop-head is attached to a slow running drill to spread the compound on both sides of the window. This is best done with the window taut on its frame, and the results can be superb. Unfortunately, it can also get a little messy if the compound is splattered onto the surrounding fabric. If this is likely to be a problem it would pay to mask off the surrounding area first.
Sometimes, however, the acrylic is just too far gone. The windows are scratched and badly fogged, there are irreparable splits in some areas, and the stitching has also seen better days. The easiest cure is a replacement, which will give the canopy a new lease of life.
Step 1: Positioning the new sprayhood window
You will need:
- Window material (available in two thicknesses – 0.5mm and 0.75mm. Sprayhoods would have the thicker grade)
- Heavy-duty sewing machine
- Denim-style needles
- Polyester thread
- Stitching cutter
- Double-sided tape
- Silicone spray
- Clothes brush
- Scissors
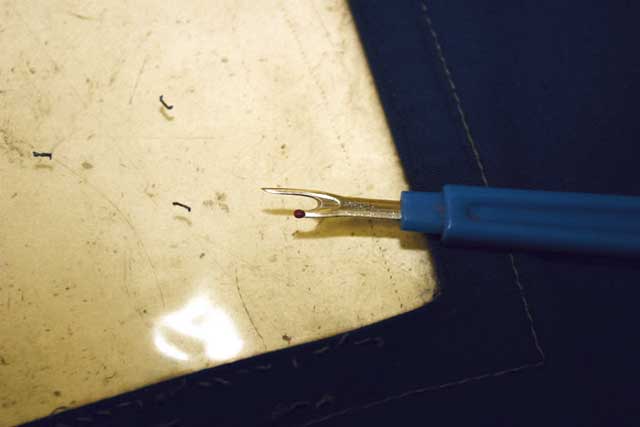
1: An important and inexpensive tool for this stage will be a seam picker, which has a sharp cutting edge to slice through the polyester threads, and a protective ball to stop it digging in.
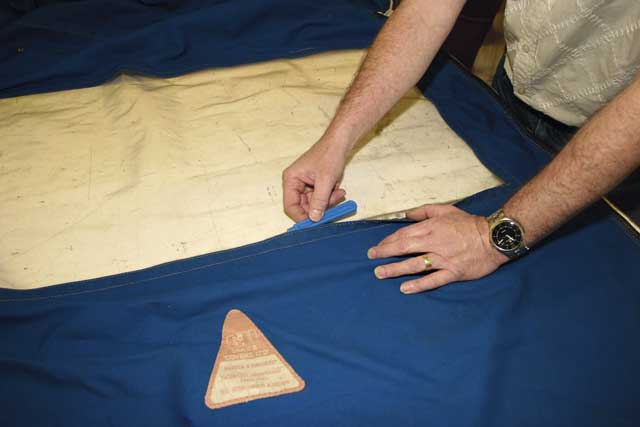
2: With the cover laid outside-up on the table, Alan begins by running his stitch-cutter along the window’s inner edge seam, in order to remove all the threads.
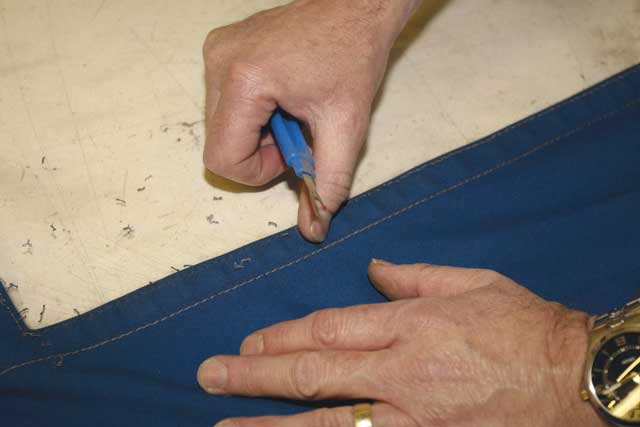
3: The cut stitching is worked loose with his thumb as he goes…
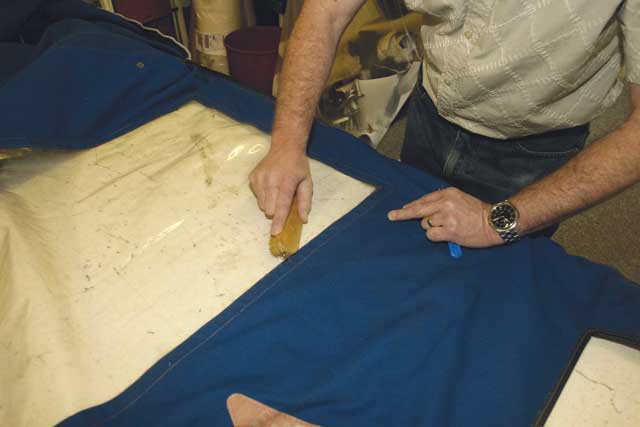
4…which is followed by a sweep with a soft clothes brush to remove all the debris.
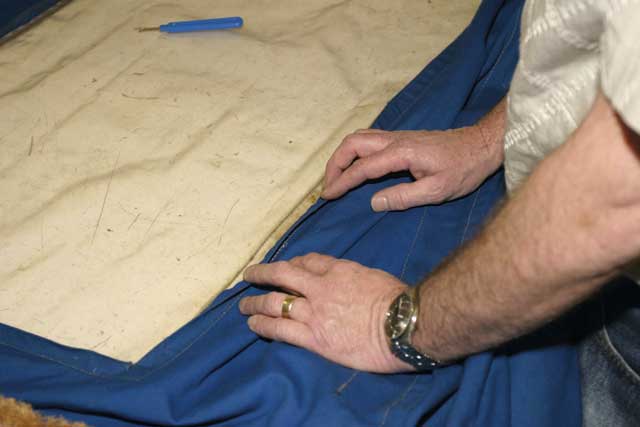
5: Once the inner seam has been unpicked and swept, it needs a thorough check to ensure that all the thread has been removed.
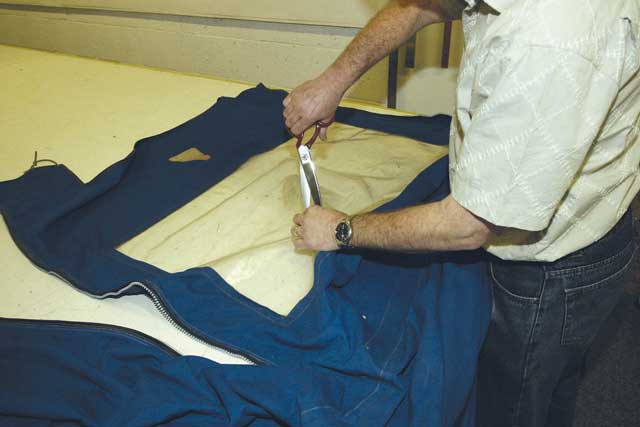
6: Now use some scissors to make a split in the old window, near one of the long edges. This is a vital part of removing it later.
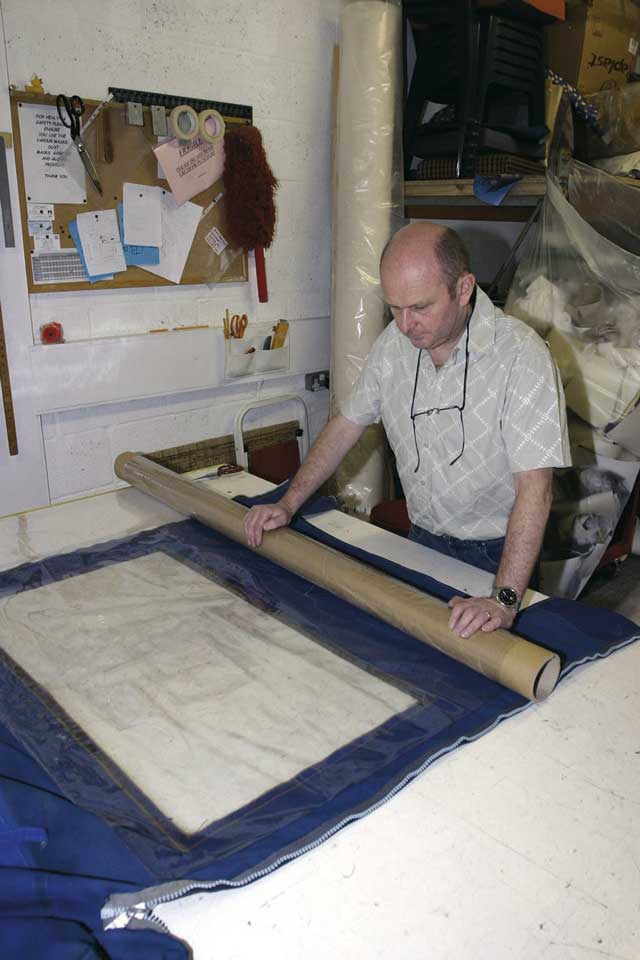
7: Now turn the cover inside out, smooth the window flat, and unroll the new material across the inside surface.
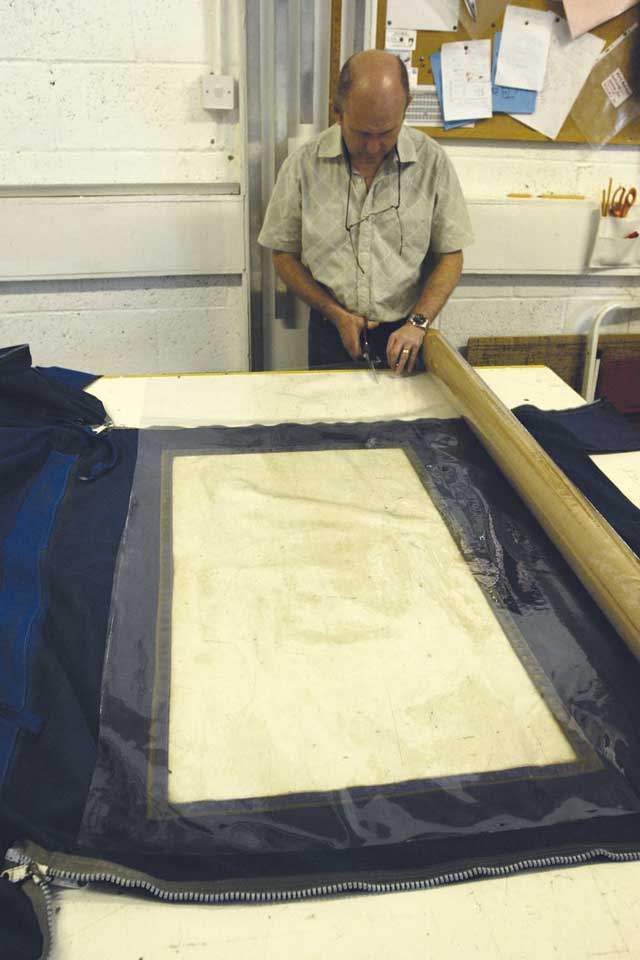
8: A suitable patch can now be trimmed with scissors…
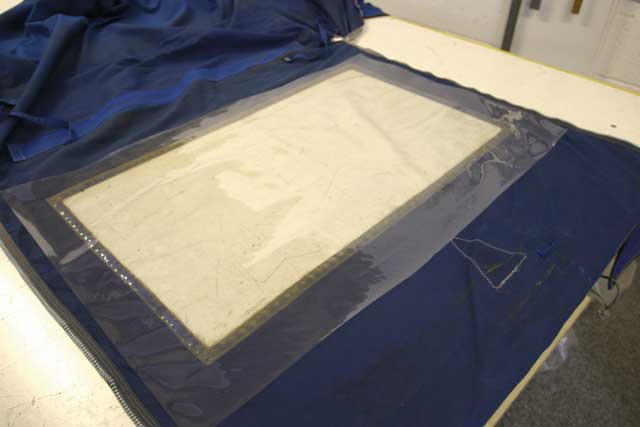
9 …allowing a generous overlap outside the existing seams.
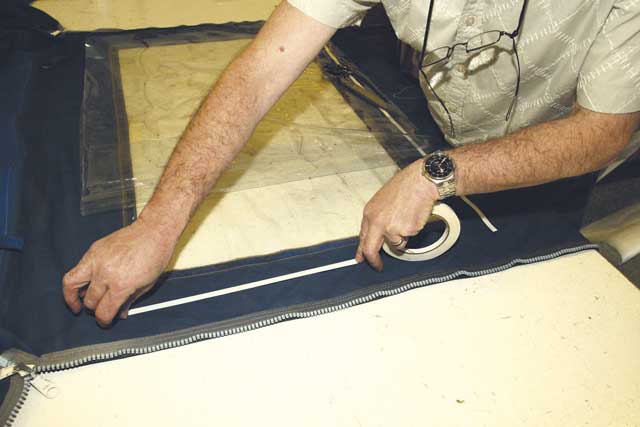
10: Place double-sided tape along all four edges of the fabric bordering the existing window, but outside the existing outer seams. The tape will hold the new window temporarily in place.
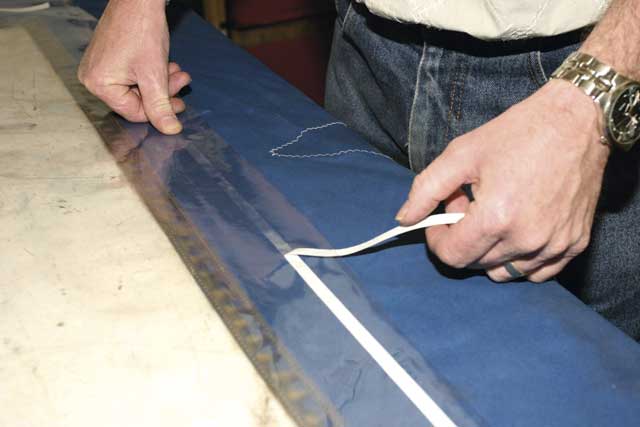
11: With the tape rubbed down, drop the new window on top of it. Check the position is correct, and then peel back the top protective cover of the tape to expose the adhesive. Rub the new window down on to it as you go.
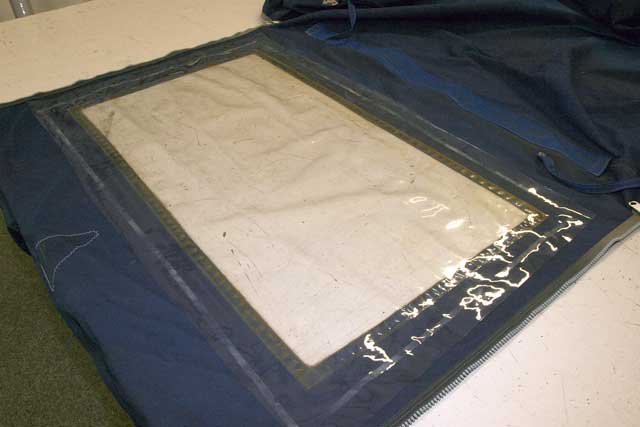
12: The new window is now held firmly on top of the old one, and is ready to be sewn into place.
Step 2: Stitching the seams
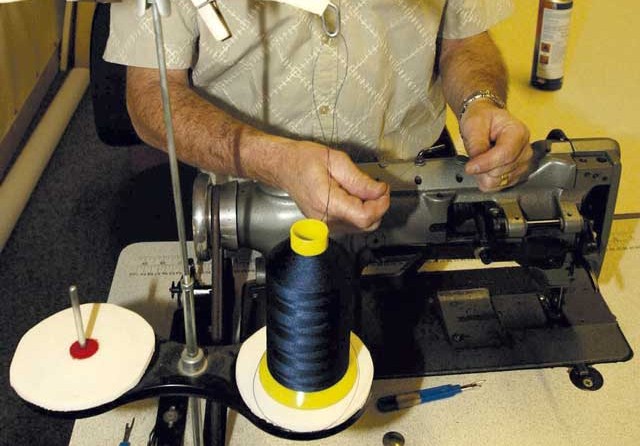
1: Alan uses industrial sewing machines for his business, but says any fairly heavy-duty machine should be able to cope.
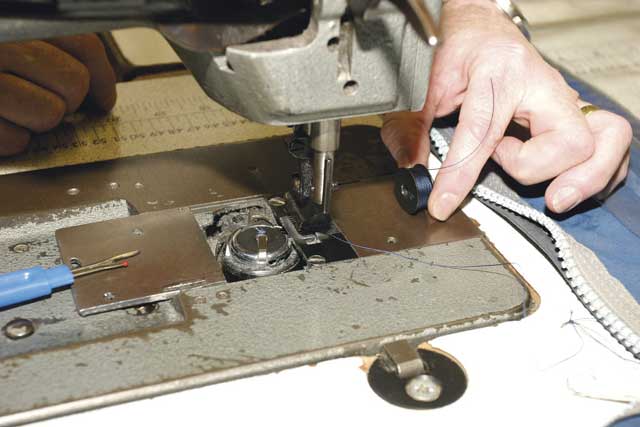
2: You will need a colour-matched polyester cotton thread, and a ‘denim-style’ needle. Manufacturers have their own way of grading the sizes of their needles, so Alan specifies one two sizes up from ‘standard’ to punch through the thickness of the windows and the fabric beneath.
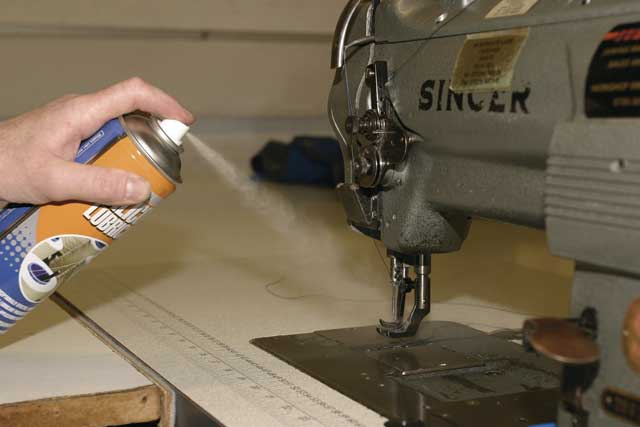
3: Before starting to sew, Alan gives the foot and needle assembly a quick spray of silicon lubricant. He’ll top this up every 15 minutes or so during the job to prevent anything from sticking.
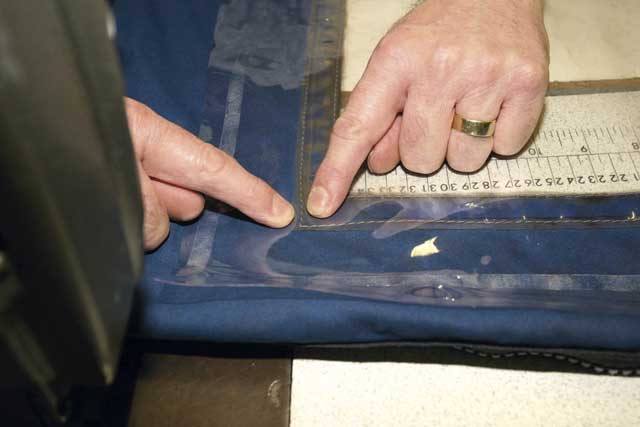
4: With the cover pulled up to the machine, still inside out, Alan identifies his target. He machines the outer seam first, running new stitching along the existing seam.
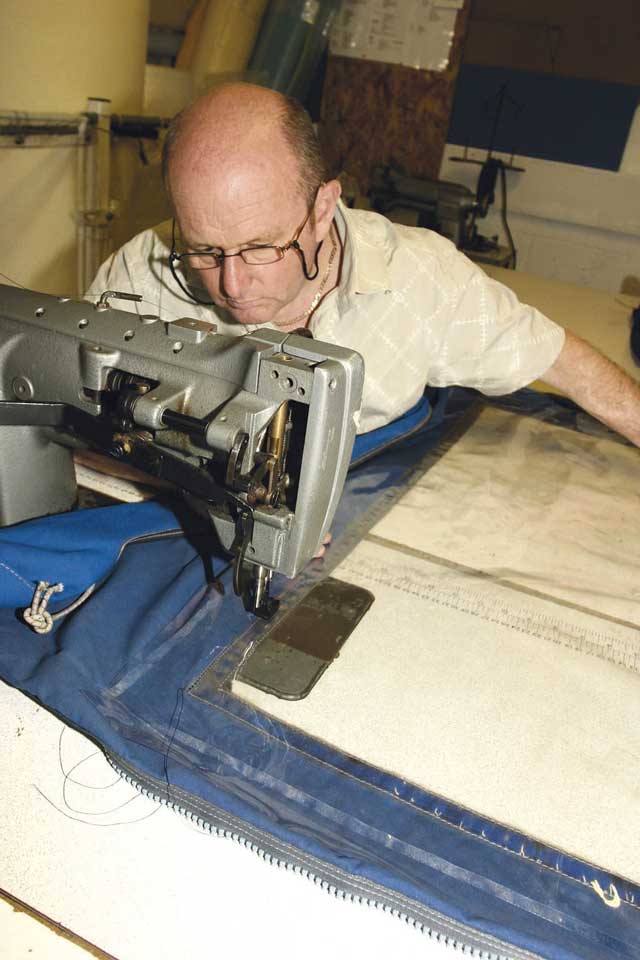
5: Easy does it. Care is taken to keep stitching in a straight line.
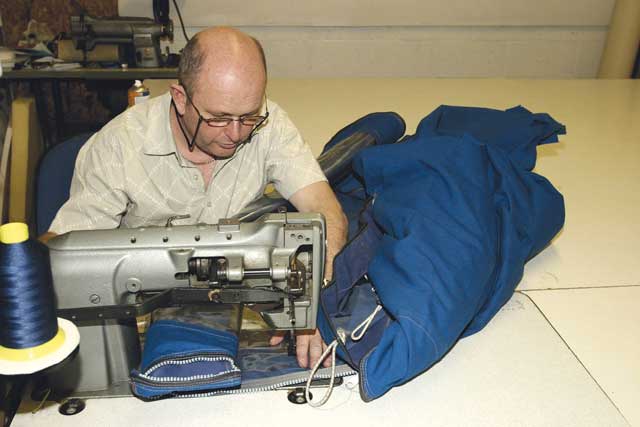
6 To tackle the last side of the window, Alan rolls the cover up to slide it through the machine. He can do this now there are three sides securely sewn, rather than just held by tape.
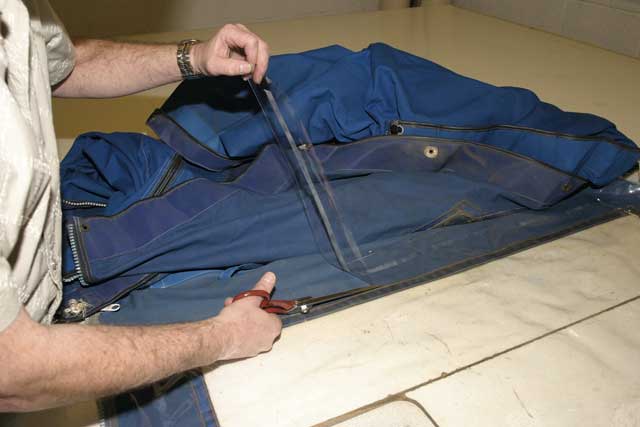
7 When all sides are sewn, the new sprayhood window overlap is then trimmed back to stand just proud of the outer seam.
Step 3: Remove the old window
Now comes the task of removing the old window, which has acted as a brace to keep things in shape throughout the whole operation.
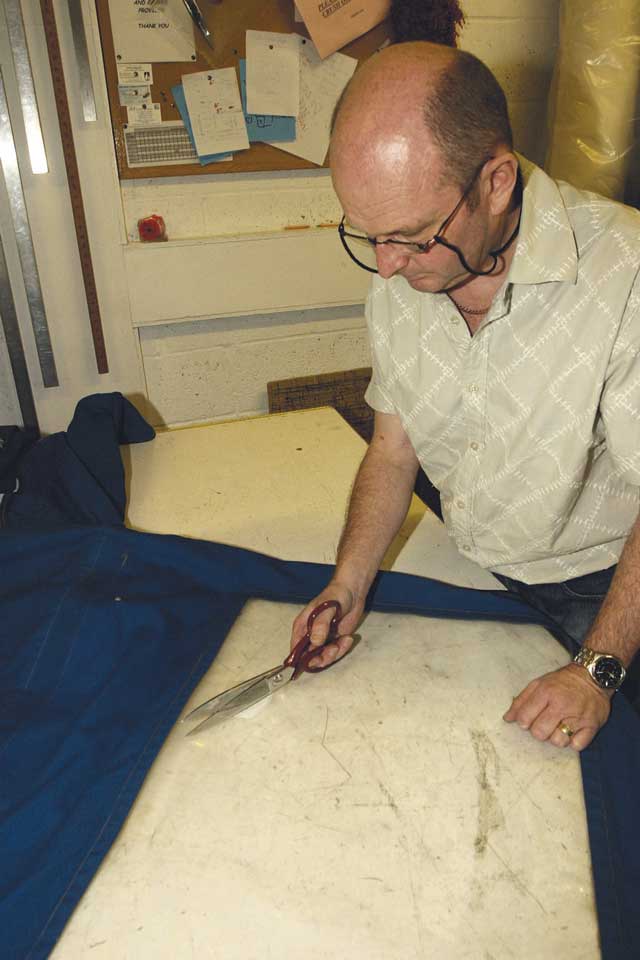
1 The split we made in the old window is used to allow Alan to start cutting it free. He gently inserts the scissors into the split, taking care not to damage the new window underneath.
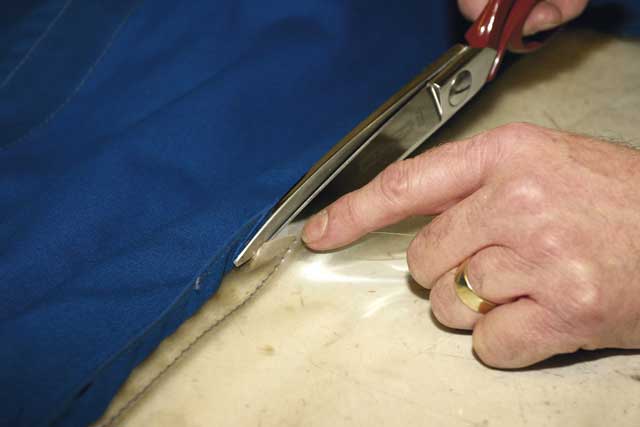
2: Once the scissors reach the outer seam, Alan teases back the fabric and snips along the seam a couple of millimetres clear of the fresh stitching. Taking his time, he carefully works along all four sides of the old window…
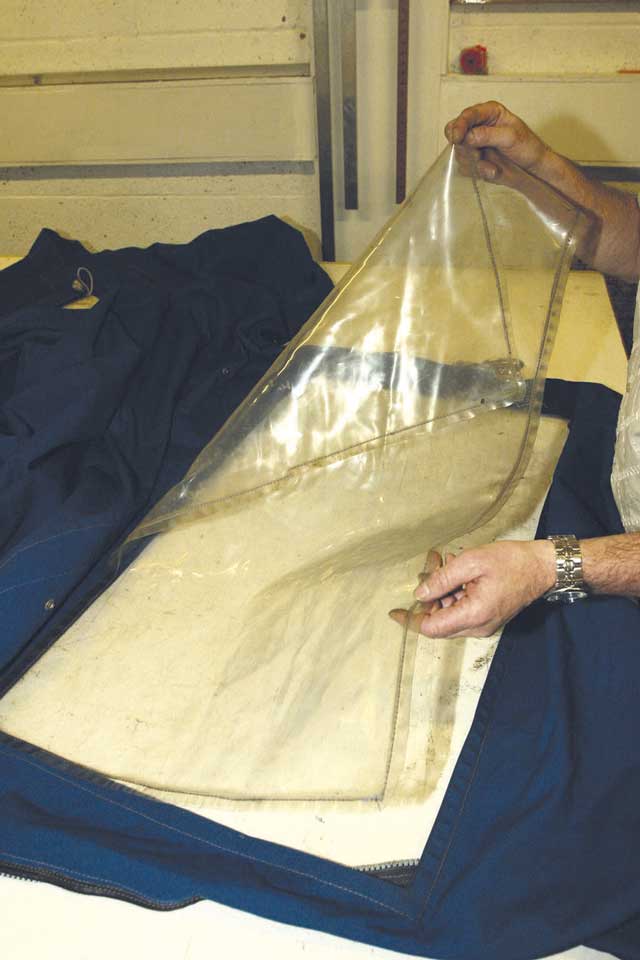
3…until out it comes! Straight into the bin with this tired old piece of plastic.
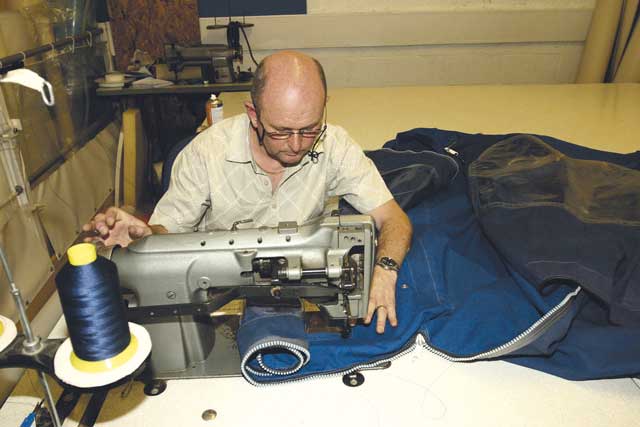
4: All that remains now is to sew the inner seam in exactly the same way as the outer one.
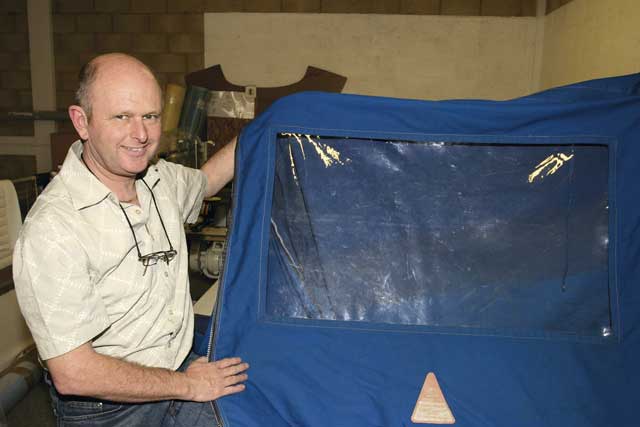
5: The finished item, which has taken about 11⁄2 hours to achieve. With the new spayhood windows, and the other canvas repairs, the Andersons can now enjoy at least another five years of active service from their cockpit canopy – and they’ll have the added benefit of being able to actually see out of it!
What did it cost?
For this size of window, Alan’s quoted price was around £35 per window. Even when all three windows were replaced, and some canvas repairs carried out, it still worked out a lot cheaper for the Andersons than an entire new canopy, which would have cost around £800-£900 for Fidget.
The refurbished canopy will operationally be as good as new. With a proper clean and reproofing with a dyed product, such as Renovo, it could even look (almost) new again.
Contact
Alan Dring, Hawke House Ltd, tel: 02392 588588, www.hawkehouse.co.uk
Alan runs demonstration days where classes of up to six people at a time are shown how to make their own covers, upholstery and undertake general repairs to boat fabrics.


